REVIEW · BRUGES
Self-Guided Secrets Tour – Explore Bruges & Miss nothing
Book on Viator →Operated by Selfgui.de International · Bookable on Viator
Bruges is too easy to walk past. This self-guided Google Maps route helps you hit the highlights and the quieter corners without herding or guesswork. You’ll move at your pace, with photo-friendly viewpoints built in.
I like that it threads together big-name sights with calmer stops, so your walk feels complete, not rushed. Sint-Janshospitaal’s medieval halls and the Belfry of Bruges views are both in the same easy loop, and the time at each place is roughly set for you. I also like the practical simplicity: open it, follow the pinned spots, and keep going.
One drawback: it’s only as good as your phone setup. You need your own mobile device, and you’ll rely on Google Maps to navigate, plus some entries (like the brewery and tower climbs) cost extra.
In This Review
- Key things to know before you go
- Why this Bruges self-guided “secrets” walk feels different
- Getting started at Concertgebouw Brugge ’t Zand
- Stop 1: Sint-Janshospitaal (medieval care, art, and courtyards)
- Stop 2: De Halve Maan Brewery (classic Bruges beer + a rooftop payoff)
- Stop 3: The Princely Beguinage Ten Wijngaarde (quiet courtyards that slow you down)
- Stop 4: Onze-Lieve-Vrouwekerk (Church of Our Lady and Michelangelo’s Madonna)
- Stop 5: Rozenhoedkaai (Quai du Rosaire) canal views
- Stop 6: Koningin Astridpark (a breather in the middle of town)
- Stop 7: Jan Van Eyckplein (Hansa Quarter trade and architecture)
- Stop 8: De Nieuwe Papegaai (windmill on the ramparts)
- Stop 9: Belfry of Bruges (tower climb + bells and medieval craft)
- Stop 10: Sint-Salvatorskathedraal (Bruges’s oldest parish church)
- Price, time, and what it actually costs you
- The best fit: who this tour suits
- A practical tip for a smoother Bruges loop
- Should you book this Selfgui.de secrets tour?
- FAQ
- How long is the Bruges Self-Guided Secrets Tour?
- What does it cost?
- Do I need to bring a phone?
- Is there an app to download?
- Where does the tour start and end?
- Is the tour private?
- Are entrance fees included?
- Is the tour available during certain hours?
- What language is the tour in?
- Can I cancel and get a refund?
Key things to know before you go
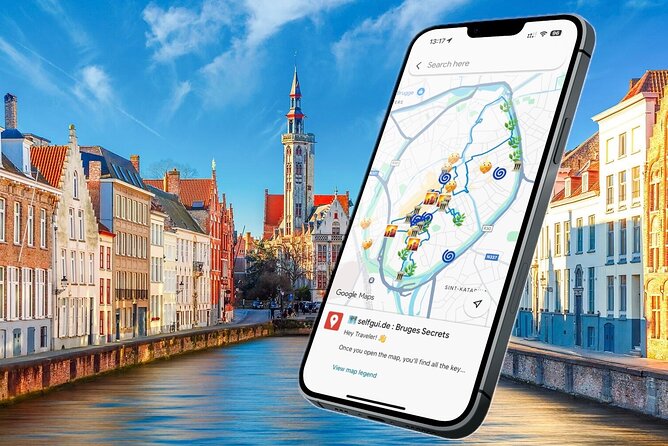
- Pre-pinned Google Maps stops so you’re not constantly re-searching streets
- Free-entry heavy route, with several stops listed as no ticket cost
- Rooftops and viewpoint planning for better photo timing without extra effort
- Flexible pace (2 to 4 hours) since you’re not stuck with a group schedule
- A true “private group” format, so it’s just you and your party
- Optional add-on entries where you can decide on the spot
Why this Bruges self-guided “secrets” walk feels different
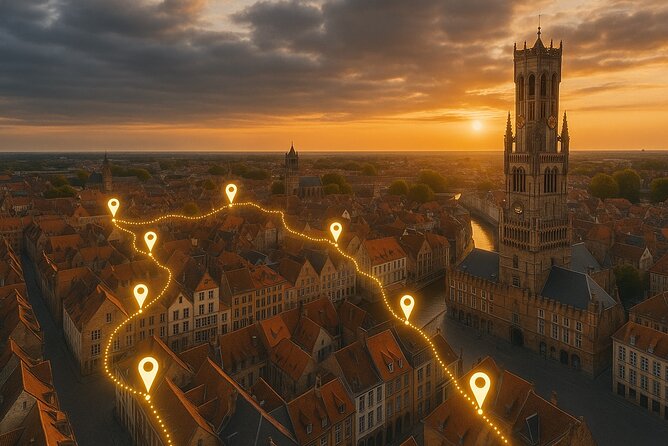
Bruges can be charming in an almost dangerous way: you’ll want to stop for every canal reflection, every brick façade, every window box. Then you realize you’ve walked for an hour and still haven’t seen the things that make the city click.
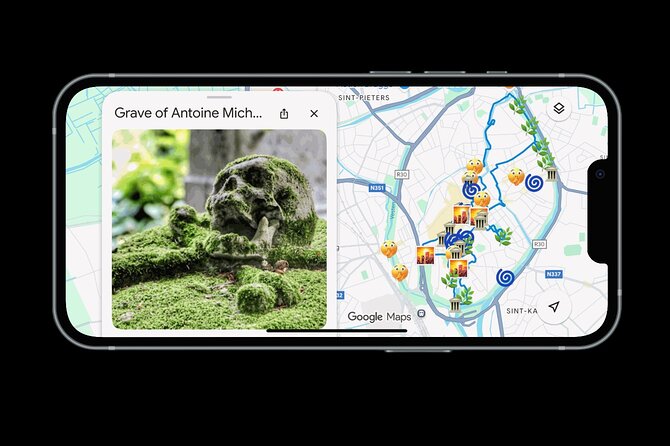
This tour solves that with a simple idea: you get a mapped route inside Google Maps, already set up with the spots you shouldn’t miss. The tour is designed so you follow a smart sequence and don’t end up circling the same streets twice.
It’s also designed for real life. The duration is listed as about 2 to 4 hours, so you’re not committing half a day. And it’s meant to work like a personal adventure: you can stick closely to the suggested flow or break off for an extra photo stop when the scene is too good to ignore.
You can also read our reviews of more tours and experiences in Bruges.
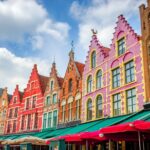
Getting started at Concertgebouw Brugge ’t Zand
You begin at Concertgebouw Brugge ’t Zand (34, 8000 Brugge) and the experience ends back at the same meeting point. That back-to-start finish matters, because it reduces the stress of figuring out how to get home after you’ve wandered.
The map is provided as a mobile ticket, and after payment you access your official Selfgui.de e-Map immediately. You get lifetime access to the tour in English, and it’s valid for any travel date. In plain terms: you’re not racing to fit it into a specific tour window.
The operating hours are 8:00 AM to 7:00 PM, and the availability range shown runs from 07/23/2025 to 02/16/2027. If you’re going in the morning or late afternoon, you still have plenty of time for a relaxed loop.
Stop 1: Sint-Janshospitaal (medieval care, art, and courtyards)
Sint-Janshospitaal is one of those Bruges stops that feels like stepping into a different century without needing a translation. You’re looking at a 12th-century hospital with timbered halls, older medical tools, Hans Memling masterpieces, and a preserved pharmacy.
What I love about including this early: it sets the tone. Bruges isn’t only about lace and postcard canals; it’s also about how people lived, treated illness, and carried out daily care in a very organized space. And because the setting is built around peaceful courtyards, it’s a good reset after you arrive hungry or slightly jet-lagged.
It’s listed as about 20 minutes and admission ticket free. That’s a nice first win: you get a meaningful cultural stop without adding costs to your morning.
Quick consideration: this is a big interior experience. If you hate museum-style walking, just keep your pace light—don’t try to read every label.
Stop 2: De Halve Maan Brewery (classic Bruges beer + a rooftop payoff)
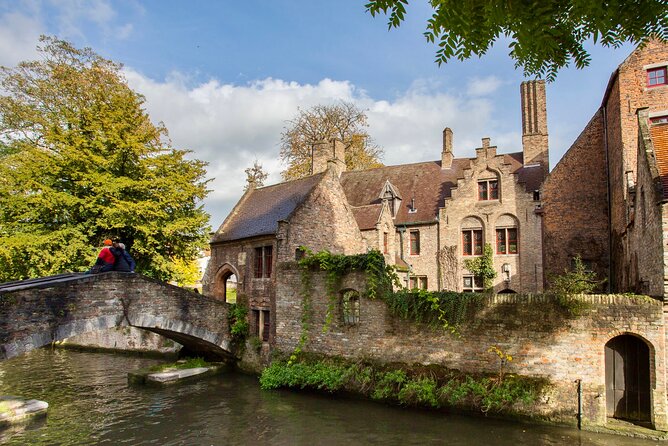
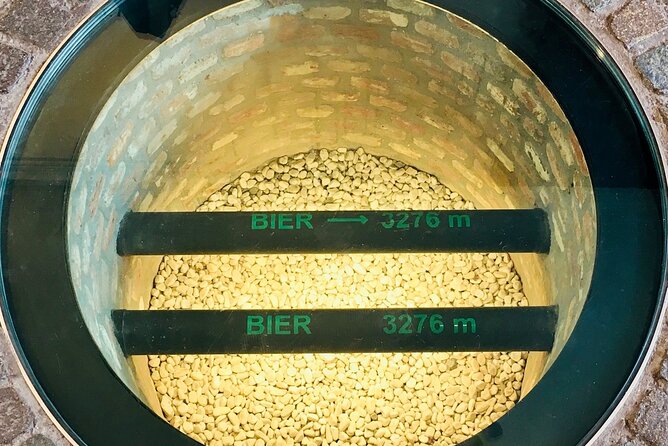
Next you hit De Halve Maan Brewery, where you can see historic brewing rooms, antique kettles, and the famous underground beer pipeline. The experience finishes with a rooftop view over Bruges plus a beer tasting.
The listing suggests about 15 minutes, but the real value here depends on whether you choose to go inside. Entry is listed as not included, so plan a little extra money if this is a must for you.
Why it’s worth it: Bruges rooftops and brick towers look great from above, and this is one of the more convenient ways to get that perspective without turning your visit into a steep-stairs scavenger hunt. Also, the underground pipeline detail is the kind of specific thing that makes the story feel real instead of generic.
Stop 3: The Princely Beguinage Ten Wijngaarde (quiet courtyards that slow you down)
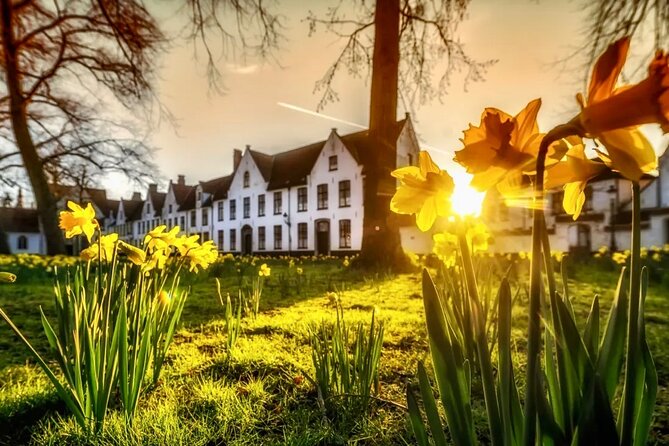
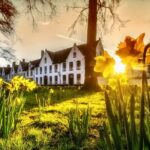
The Princely Beguinage Ten Wijngaarde is one of Bruges’s natural antidotes to the crowds. You’ll stroll among whitewashed houses, peaceful courtyards, and a simple chapel, with trees and seasonal flowers shaping the atmosphere.
It’s listed at about 15 minutes and admission ticket free. This is the kind of stop you’ll appreciate most if you like places that feel lived-in and calm. It also works as a breather between louder landmarks.
Consideration: because it’s tranquil, it may feel slow if your day is packed. If you’re short on time, treat it like a quick wander—look for one or two courtyards and move on.
Stop 4: Onze-Lieve-Vrouwekerk (Church of Our Lady and Michelangelo’s Madonna)
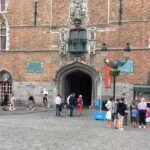
Onze-Lieve-Vrouwekerk gives you serious “wow” architecture plus real art. You’ll see a massive 115-meter brick tower, discover Michelangelo’s Madonna and Child, and explore Gothic chapels along with centuries-old tombs and artworks.
It’s listed at about 20 minutes and admission ticket free. That combination is rare: tower + famous sculpture + multiple layers of church history without an entrance fee in this particular tour flow.
Why it’s a smart mid-walk stop: religious buildings in Bruges tend to be cooler, calmer, and quieter than the streets, so it balances out the canal sightseeing.
Quick note: if you’re not into churches, you may want to focus on the highlights—especially the Madonna and Child area—rather than trying to see everything end-to-end.
Stop 5: Rozenhoedkaai (Quai du Rosaire) canal views
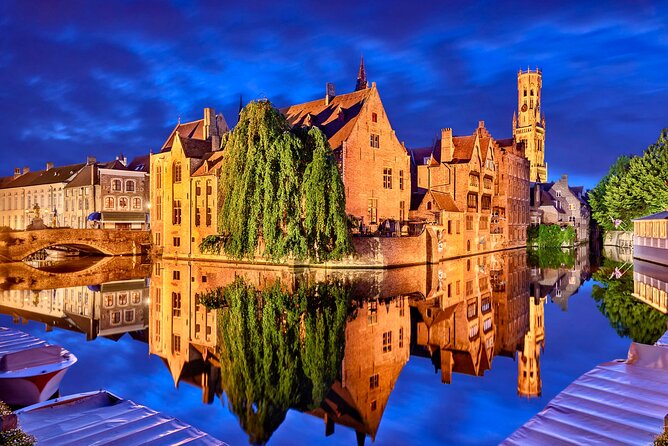
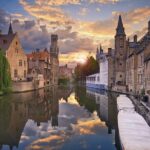
Then you step into Bruges’s most iconic photo territory at Rozenhoedkaai. This is where you get medieval gabled houses mirrored in the canal, swans gliding by, and classic bridges shaping that timeless view.
It’s listed around 20 minutes and admission ticket free. Even if you’ve seen pictures before, standing here tends to feel different because the angles are real and the reflections change as boats drift through.
Consideration: it can draw people. Plan for a slower pace here: take a few photos, then step away from the densest spot to enjoy the water’s calm.
Stop 6: Koningin Astridpark (a breather in the middle of town)
If your feet are starting to complain, Koningin Astridpark is your reset button. It’s a peaceful green oasis right in the heart of Bruges, named after Queen Astrid of Belgium, and listed as a public space since the 19th century.
It’s about 30 minutes and admission ticket free. This is exactly the right amount of time to sit, regroup, and let your brain stop scanning for the next “must-see.”
Practical tip: treat this like a place to rehydrate and take notes for what you loved most. Then you’ll enjoy the next architecture stops even more.
Stop 7: Jan Van Eyckplein (Hansa Quarter trade and architecture)
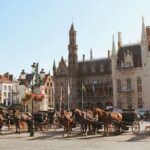
Next is Jan Van Eyckplein, a historic square tied to the Hansa Quarter. In the Middle Ages, it was described as the heart of trade, with merchants from across Europe connected here.
It’s listed around 30 minutes and admission ticket free. Even if you don’t read every building façade, the value is in what the square represents: Bruges as a trading powerhouse, not just a postcard town.
What to do here: slow down, look up, and try to imagine how the square worked when goods and people moved through it every day.
Stop 8: De Nieuwe Papegaai (windmill on the ramparts)
De Nieuwe Papegaai brings you a different side of Bruges: Windmolen De Nieuwe Papegaai, an 18th-century wooden windmill perched on the city ramparts. The sails turning in the breeze can be surprisingly calming, especially after church stone and canal water.
It’s listed around 20 minutes, and entry is not included. That means you can decide whether the inside experience is worth your time and money.
If you like industrial details or the feel of older structures still functioning, this is a satisfying stop. If you’re mainly after views and photos, you might spend less time and keep moving.
Stop 9: Belfry of Bruges (tower climb + bells and medieval craft)
The Belfry of Bruges is one of the city’s musts for a reason: you’ll see a towering 13th-century bell tower, with steep steps leading to views. The listing also points to historic bells, ancient charters, and medieval craftsmanship throughout.
This stop is listed as about 20 minutes, and entry is not included.
Why I think this is worth budgeting for: tower views are one of those experiences that makes Bruges feel understandable. From above, the canals, rooftops, and street layout stop looking random. You’ll be able to mentally map your walk even if you didn’t realize you were doing it.
Consideration: if you don’t like stairs, this might be a “look from ground level and move on” type of stop. The tower climb is the key promise here.
Stop 10: Sint-Salvatorskathedraal (Bruges’s oldest parish church)
Your last major stop is Sint-Salvatorskathedraal, listed as Bruges’s oldest parish church. Here you’ll see a soaring tower, Gothic and Romanesque details, and impressive tapestries, plus medieval tombs and a collection of religious art and treasures.
It’s listed around 20 minutes and admission ticket free.
This is a strong finish because it combines architectural variety with interior artwork. Even if you’re not a big church person, the “oldest parish church” framing tends to make the place feel important, not just pretty.
Quick note: as a finish, it’s perfect if you want one last indoor moment while your legs decide if they’re done for the day.
Price, time, and what it actually costs you
The price is $4.82 per group (up to 10 people). That matters because you’re not paying per person. For a small group, the value is excellent; for a solo traveler, it’s still fair given you’re effectively buying a self-guided route that keeps your walking efficient.
Duration is 2 to 4 hours, which is realistic for a self-guided loop with short stops. If you move slowly, add time for canal photos and interiors. If you’re comfortable walking, you can likely complete it without feeling rushed.
Money-wise, entrance fees are not included for certain stops:
- De Halve Maan Brewery
- De Nieuwe Papegaai
- Belfry of Bruges
The other major stops in this route are listed as ticket free, including the hospital, beguinage, Onze-Lieve-Vrouwekerk, Rozenhoedkaai, Koningin Astridpark, Jan Van Eyckplein, and Sint-Salvatorskathedraal.
So you should budget for the optional paid entries you care about most. If beer and views are your priorities, plan for brewery and/or belfry. If you mostly want architecture and courtyards, you may spend very little beyond getting yourself there.
The best fit: who this tour suits
This self-guided format is ideal if you:
- like planning your own pace and don’t want a big group rhythm
- want to make sure you don’t miss key Bruges sights
- enjoy a mix of famous places and calmer stops
- prefer “follow the map” navigation over guide lectures
It can be a less perfect choice if you:
- want a live explanation from a person
- hate relying on your phone and Google Maps
- want every single stop to be free, with no optional paid entries
A practical tip for a smoother Bruges loop
Bring your phone brightness up before you start and keep the Google Maps view stable. These kinds of self-guided routes work best when your screen doesn’t keep timing out or shrinking when you switch apps.
Also, when a canal or courtyard moment grabs you, don’t try to fight it. The route is designed so you can spend a little extra time without the day collapsing.
Should you book this Selfgui.de secrets tour?
I think you should book it if you want an easy, efficient way to see Bruges without sprinting or getting lost. The big advantage is that the route is already planned inside Google Maps, with a smart mix of free sights, iconic views like Rozenhoedkaai, and optional entries for places like the Belfry of Bruges.
Skip it only if you strongly prefer a live guide or you don’t want to rely on your own smartphone navigation. If that’s not you, this is a great value way to walk Bruges like you mean it.
FAQ
How long is the Bruges Self-Guided Secrets Tour?
It runs for about 2 to 4 hours.
What does it cost?
The price is $4.82 per group, up to 10 people.
Do I need to bring a phone?
Yes. A mobile device is not included, and the tour requires Google Maps on your smartphone.
Is there an app to download?
The tour uses a mobile ticket and access to your e-Map. It opens in one click with Google Maps.
Where does the tour start and end?
It starts at Concertgebouw Brugge ’t Zand (34, 8000 Brugge, Belgium) and ends back at the meeting point.
Is the tour private?
Yes. It’s listed as private, with only your group participating.
Are entrance fees included?
Not fully. Entrance fees are listed as not included for De Halve Maan Brewery, De Nieuwe Papegaai, and the Belfry of Bruges. Other stops on the route are listed as free.
Is the tour available during certain hours?
Yes. The provided opening hours are 8:00 AM to 7:00 PM, with the availability range shown from 07/23/2025 to 02/16/2027.
What language is the tour in?
It’s available in English.
Can I cancel and get a refund?
The policy says you can cancel for a full refund up to 24 hours in advance. Within 24 hours, the amount you paid is not refunded.