REVIEW · GEIRANGER
Geiranger Fjord: Downhill Self-Guided Bike Tour
Book on GetYourGuide →Operated by Excursions.no · Bookable on GetYourGuide
A fjord view starts at 1,030 meters. This self-guided ride drops you from Djupvatnet Lake into Geiranger Fjord scenery, with classic viewpoints like Flydalsjuvet along the way. You get the thrill of a downhill bike trip while still having time to pause for photos.
I really like that you’re set up for an easy start: you meet in Geiranger, get a safety talk, and then get the bike plus the right kit. The ride feels simple to manage at your own pace, which matters on a road bike-style downhill like this.
The main thing to watch is the reality of the route. It’s self-guided on a road used by vehicles, so you’ll want confidence in traffic and in wet or windy weather, not just in calm conditions.
In This Review
- Key Things I’d Plan For
- Starting in Geiranger: Gear Up Before the Big Drop
- Djupvatnet Lake to the Fjord Road: Why This Route Feels Special
- Flydalsjuvet Viewpoint: The Stop That Makes the Ride Worth It
- The Traffic Reality on a Main Road Downhill
- How Long It Takes (and Where That Time Goes)
- Road Closed? The Eagle Bend Backup Start
- What’s Included vs. What You Need to Bring
- Riding Skills: Who This Downhill Bike Tour Fits Best
- Price and Value: Does $156 Make Sense Here?
- The Emotional Payoff: Going From High Views to Village Finishing Energy
- Should You Book This Downhill Bike Tour?
- FAQ
- Where is the meeting point?
- What’s included in the price?
- Is there a guide during the downhill ride?
- How long does the experience take?
- What is the starting elevation for the main route?
- What if the road to Djupvatnet Lake is closed?
- What should I bring?
- What age is the minimum to join?
- Is this suitable for people with back or heart problems?
- Is the tour weather dependent?
Key Things I’d Plan For
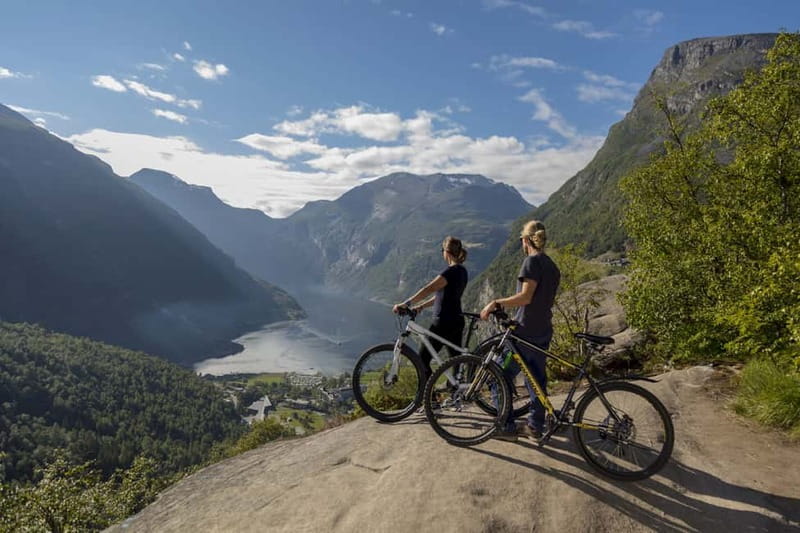
1,030-meter start above the fjord — you’re driven up first, then you coast downhill with big changes in scenery fast.
Flydalsjuvet photo stop — this is the viewpoint most people aim for, and it’s worth planning your timing around a longer pause.
Self-guided means you control the pace — you can stop for photos, but you still share the road with other vehicles.
Main-road riding, not a dedicated trail — think road conditions and traffic more than off-road mountain bike skills.
All-weather packing matters — warm layers and a windbreaker aren’t optional on a ride that starts high and stays exposed.
Small group, limited to 8 — it’s easier to get geared up and understand what to do, without feeling rushed.
Starting in Geiranger: Gear Up Before the Big Drop
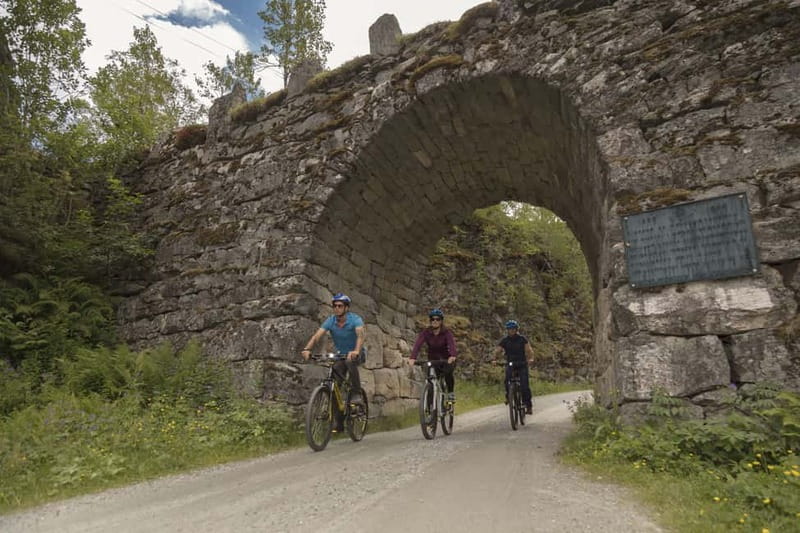
You meet at Geirangervegen 10, right before Cafe Ole. This is one of those practical setups that makes the whole experience feel smooth. You’re not hunting for a bus stop or a random trailhead. It’s a clear, walk-up meeting point in the village area.
Once you arrive, there’s a short safety talk in English. You’ll also get kitted out with the basics that actually matter on a fast downhill: a helmet, bicycle gloves, and a visibility vest. Then you’re loaded into transport and driven up to the starting point.
That drive up is part of the fun. Even before you pedal, you’re seeing how high you’ll be riding from. You get the sense that today is about height, angles, and fjord views—not about grinding uphill fitness.
You can also read our reviews of more tours and experiences in Geiranger.
Djupvatnet Lake to the Fjord Road: Why This Route Feels Special
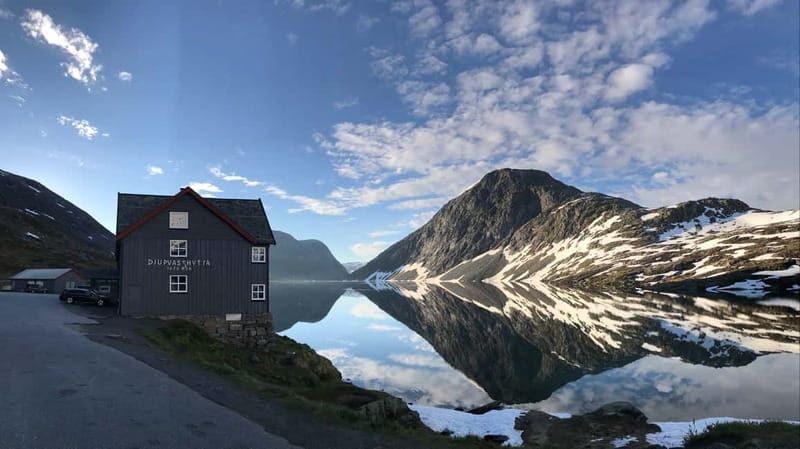
Your ride begins at the Djupvatnet Lake, about 1,030 meters above sea level. From that height, the fjord scenery starts wide and dramatic, then tightens into a more winding, road-side feel as you descend.
This is the core experience: cycling one of the spectacular roads in the area down into Geiranger. The best part is that you’re not stuck looking at the views from a viewpoint bus window. You’re moving through the scenery while it changes around you.
You also get a natural rhythm to the ride. The downhill means you’re not fighting constant steep climbs. That matters because the road has real-world conditions: traffic, pull-offs, and weather. When you’re not exhausted, you can actually pay attention and ride smarter.
One caution: this is not a slow scenic promenade. Even if you’re taking it easy, you’ll still need control and awareness. Going downhill can feel effortless—until you hit rain, wind, or a tricky traffic moment.
Flydalsjuvet Viewpoint: The Stop That Makes the Ride Worth It
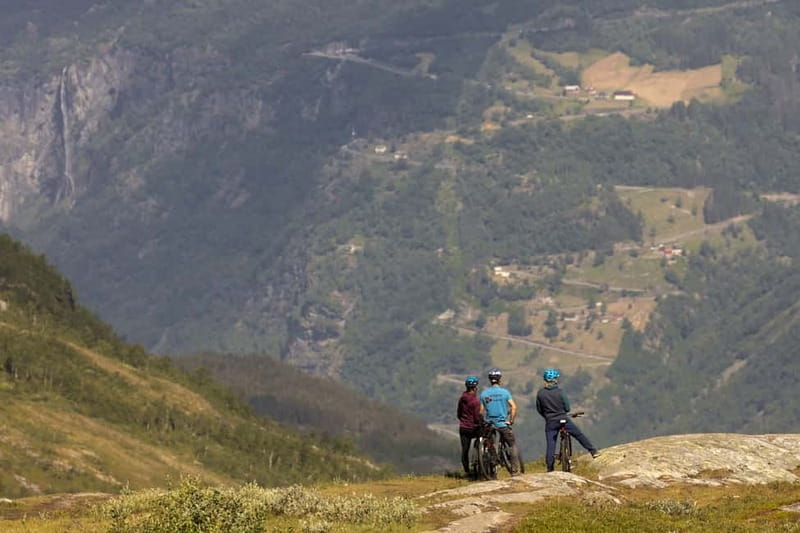
Plan for at least one meaningful stop, and make it Flydalsjuvet. This viewpoint is where the ride earns its reputation. From there, you get some of the best views over the Geiranger-area scenery, with the fjord and surrounding slopes framing the water in a way you just don’t get from down in the village.
Here’s the practical part: you don’t want to treat this stop like a quick glance. If you rush it, you’ll miss why people time their ride around it. I’d give yourself enough time to park your bike safely, take photos, and let your eyes adjust to the height and angle.
Also, remember you’re self-guided. That means you choose how long you linger. The downside is you need to build in time for your own photos without letting yourself get delayed by traffic or road conditions.
The Traffic Reality on a Main Road Downhill
This is the big “consideration” piece for self-guided rides in Norway’s famous scenic corridors. You’re cycling down a road used by vehicles. During peak times, that can mean you’re sharing the route with buses and camper vans, and you may need to pause more often than you expect.
What this means for your riding style:
- Keep your speed controlled and predictable.
- Expect stop-and-go moments.
- Don’t plan to zoom from one viewpoint to the next.
One rider-style truth: if you’re nervous around cars, this route will feel more stressful than the scenery makes up for. If you’re comfortable riding a bike on public roads and handling sudden slowdowns, the downhill will feel exciting rather than stressful.
And weather affects this too. Rain doesn’t just change visibility. It changes braking, grip, and how confident you feel at a moment’s notice. Even with the helmet and vest, you still own the decision-making once you start moving downhill.
How Long It Takes (and Where That Time Goes)
Total duration is 3 hours. The actual cycling time is about 2.5 hours, with the remaining time used for the setup and the ride up to the starting area.
You’ll feel the pacing once you’re on the bike. Because you’re descending, the ride can feel fast—but the “real” time disappears when you stop for photos and when traffic forces slower moments. This is why I recommend bringing snacks and water. If you get hungry or thirsty, you might cut your photo time short, or you might push through when you should be taking a calm break.
If the alternative starting point is needed (more on that next), your timing might shift slightly. The good news is that the structure is simple: ride downhill, stop when it makes sense, finish back at the Geiranger area.
Road Closed? The Eagle Bend Backup Start
Good weather is key, because the tour depends on it. If the road up to Djupvatnet Lake is closed, you won’t be turned away. Instead, you’ll be offered an alternative starting point from the Eagle Bend viewpoint.
This matters because it protects your day. You still get a downhill experience and fjord views, rather than losing the entire plan.
The drawback is you should be flexible in your expectations. A different starting point can slightly change the feel of the ride—how long you descend, where viewpoints line up, and how the traffic behaves along your particular section.
If you’re the kind of person who hates surprises, build a little tolerance into your schedule for this one.
What’s Included vs. What You Need to Bring
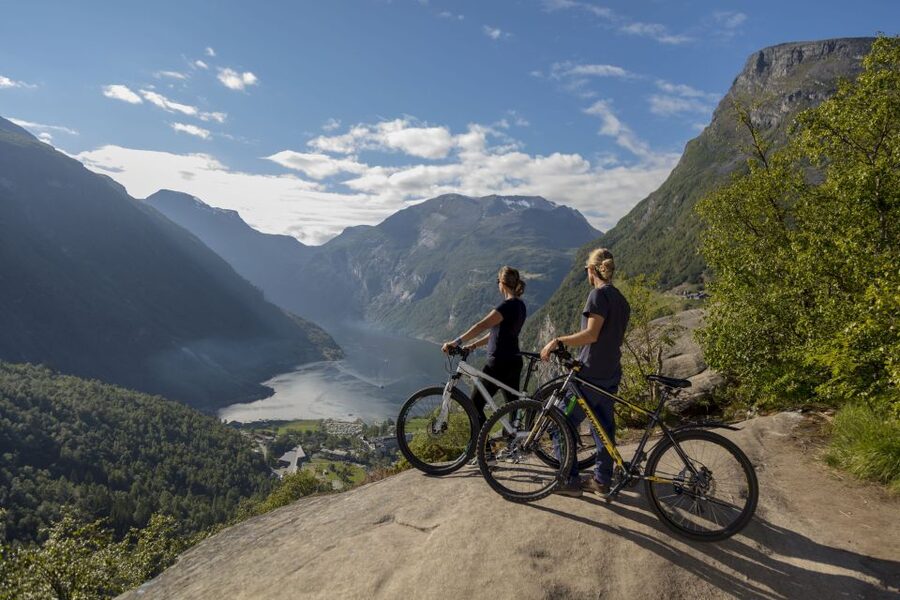
You pay $156 per person, and the value is strongest when you compare what you don’t have to arrange yourself. Included are:
- Transportation to the starting point
- Bike
- Helmet
- Bicycle gloves
- Visibility vest
That’s a full gear-and-logistics package, which matters in Norway, where renting the right equipment and figuring out the pickup timing can add friction. You’re also not paying for a guide on the ride—so the experience is really about you, the road, and the viewpoints.
What you supply:
- Warm clothing
- Windbreaker
- Snacks
- Water
- Sportswear
This packing list isn’t just about comfort. It directly affects your control. Wind and wet can make a bike feel colder than expected, especially at higher elevation at the start. A windbreaker helps you avoid the “chilled but still riding” trap.
I’d also bring the kind of snack you can eat one-handed while rolling slowly or after a stop. The ride rhythm won’t always allow for a long sit-down break.
Riding Skills: Who This Downhill Bike Tour Fits Best
This ride is made for people who can ride a bike confidently. There’s no assistance during the descent, so your fitness matters less than your control and decision-making.
It’s not suitable for:
- Children under 12
- People with back problems
- People with heart problems
And participation requires:
- You must be at least 12 years old
- You must be accompanied by an adult
- Unaccompanied minors aren’t allowed
If you’re an experienced rider, you’ll likely enjoy the downhill as the highlight. If you’re a decent casual cyclist who can handle public roads, you’ll probably be fine too—just take the traffic seriously and don’t assume every turn is empty.
Self-guided doesn’t mean difficult. It means you need to be the captain. If you can keep your attention on the road and make calm choices in wind or rain, you’ll get the reward: fjord views that feel earned because you’re moving through them.
Price and Value: Does $156 Make Sense Here?
At $156 for about 3 hours, this isn’t the cheapest thing you can do in the Geiranger area. But it’s also not overpriced if you look at what’s built in.
You’re paying for:
- Bike + helmet + gloves + visibility vest
- Transport up to the starting point
- A safety talk in English
- A downhill route that includes signature viewing moments like Flydalsjuvet
That package can be hard to replicate on your own. If you already have a road bike and the gear, you might think you could do it cheaper. But in practice, the cost of logistics—getting up the mountain area, ensuring you have the right equipment, and timing it—often makes a guided or organized self-guided option worth it.
Where you might feel the price more keenly: if weather turns poor and your ride changes, or if you personally need frequent breaks to stay comfortable. But even then, the included equipment and transport help smooth out the day.
The Emotional Payoff: Going From High Views to Village Finishing Energy
What stays with you after this kind of ride is the switch in perspective. You start high at Djupvatnet Lake and end up back near Geiranger, with the fjord in your head in a totally different way than a bus ride can deliver.
You also get a very specific kind of satisfaction. You’re not just looking. You’re participating—controlling your speed, choosing photo stops, and working through traffic and weather. It can feel exhilarating when conditions are good, and it feels challenging (in a good way) when conditions are less than perfect.
The self-guided setup means you can go at your pace. One of the best parts of the experience is that you’re not locked to a group tempo. If you want to stop once, you do. If you want to stop a bunch for photos, you can—just keep it safe and don’t let yourself over-stretch your attention.
Should You Book This Downhill Bike Tour?
Book it if you want a downhill day with real fjord views, and you’re comfortable riding on a main road with other vehicles. If you like the idea of a route where you can stop for photos while still getting an efficient 3-hour outing, this fits well.
Consider skipping or choosing a different format if:
- You’re anxious riding near cars or buses
- You know you won’t do well in wet or windy conditions
- You have back or heart issues
- You want a fully guided ride every step of the way (this one has no guide accompanying you during the cycling)
If you tick the boxes—bike comfort, road confidence, and weather-friendly clothing—you’re likely to have a memorable Geiranger moment that feels active rather than observational.
FAQ
Where is the meeting point?
Meet at Geirangervegen 10, directly before the coffee shop Cafe Ole.
What’s included in the price?
Transportation to the starting point, a bike, helmet, bicycle gloves, and a visibility vest.
Is there a guide during the downhill ride?
No. You get an English safety talk, but there’s no guide accompanying you on the cycle.
How long does the experience take?
It’s listed as 3 hours total. The cycling portion lasts about 2.5 hours.
What is the starting elevation for the main route?
The ride starts from Djupvatnet Lake, about 1,030 meters above sea level.
What if the road to Djupvatnet Lake is closed?
An alternative starting point is offered from the Eagle Bend viewpoint.
What should I bring?
Bring warm clothing, a windbreaker, snacks, water, and sportswear.
What age is the minimum to join?
You must be at least 12 years old, and you must be accompanied by an adult.
Is this suitable for people with back or heart problems?
No. It’s not suitable for people with back problems or heart problems.
Is the tour weather dependent?
Yes. It depends on good weather conditions.