REVIEW · KAILUA
Mokulua Islands Self-Guided Kayak Adventure
Book on GetYourGuide →Operated by Active Oahu, LLC · Bookable on GetYourGuide
Rare seals and a paddle. That’s the hook for the Mokulua Islands self-guided kayak outing: you boat out on your own to a seabird sanctuary where monk seals haul out, then you can land, walk, and even swim at the Queens Bath area on the far side of Moku Nui.
I especially like that it’s self-guided but still well-supported. You get the kayak, dry bag, snorkel gear, safety equipment, and landing permits, plus staff who help you load and unload, so you’re not figuring everything out from scratch. I also love the wildlife angle: you’re in the right place to spot rare monk seals, and you might catch a sea turtle or two while you paddle out.
One consideration: this is not a gentle float. If you’re not used to paddling, doing it solo can feel hard work, and you’ll need to be comfortable spending time in the kayak before you commit to the longer route.
In This Review
- Key points to know before you go
- Why the Mokulua Islands itinerary feels different from a typical tour
- The 4-hour rhythm: what happens after you meet Active Oahu
- Paddle to the seabird sanctuary: what you’ll likely see on the water
- Landing on Moku Nui or the smaller island: shoes, lava, and pacing
- Swim at the Queens Bath: what it is and how to enjoy it
- Wildlife viewing without turning it into a scramble
- Gear and comfort: what’s included and what you should add
- Price and value: is $89 for 4 hours fair?
- Who should book this self-guided Mokulua Islands adventure
- Should you book the Mokulua Islands kayak adventure?
- FAQ
- FAQ
- Where is the meeting point for the Mokulua Islands self-guided kayak adventure?
- How long does the tour last?
- What is included with the kayak adventure?
- Do I need to bring snorkel gear or a wetsuit?
- What should I bring for the island walk?
- Do I need a specific type of car to transport the kayak?
- Can I see monk seals and sea turtles?
- What is the Queens Bath, and how deep is it?
- Is it refundable if my plans change?
Key points to know before you go
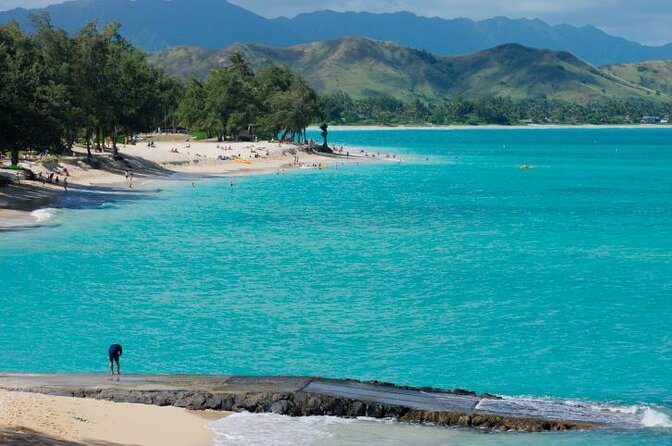
- Monk seals near the landing area on a protected seabird sanctuary
- Self-guided kayak with permits, safety gear, and snorkel setup included
- Two island options, with the larger Moku Nui taking longer
- Queens Bath: an about eight-foot-deep ocean swimming hole on the backside of Moku Nui
- Hike comfort matters because you may step on rough lava—bring proper shoes
Why the Mokulua Islands itinerary feels different from a typical tour
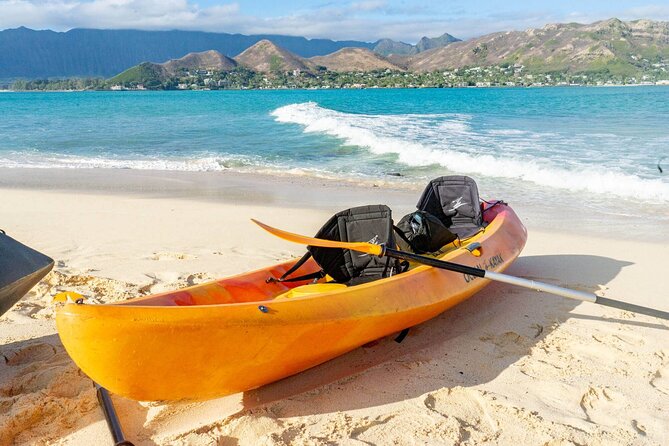
Kailua’s Mokulua Islands sit right off the coast, but they don’t feel like a quick photo stop. This outing is designed around the idea that you’ll move at your own pace: paddle out, spot wildlife, land where permitted, then explore on foot. When you do it this way, the islands feel more like a living shoreline than a checklist.
The wildlife potential is a big deal. Monk seals are famously elusive elsewhere, yet here they use the beach areas as resting spots. That changes how you look at the water and the shore. You’re not just trying to see something cool. You’re practicing patience and paying attention.
Another reason I like this format is how the day naturally builds different types of effort. Kayaking is one kind of work. Walking on lava and exploring is another. Swimming in the Queens Bath adds a third. If you like variety, this delivers it without needing a big group rhythm.
The 4-hour rhythm: what happens after you meet Active Oahu
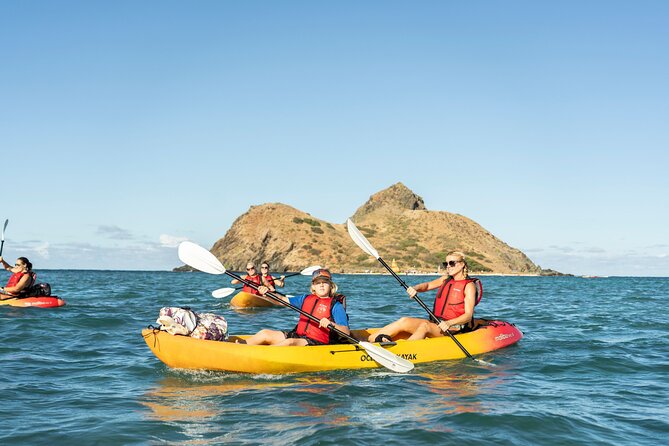
Your day starts at the Active Oahu storefront at 134B Hamakua Dr., Kailua. You park in an open bay after going through the gate. The team is there to help you strap the kayak to your vehicle and to provide the gear: the kayak setup, dry bags, snorkel gear, and safety equipment.
From there, you’ll transport the kayak a short distance to the beach. They explicitly note you’ll want a 4-door car to move the kayak a few minutes to the shoreline. You’re not driving into a long transfer day. Think of it as a quick handoff from shop to water.
Then the timing makes sense. The total duration is 4 hours, and that’s long enough to paddle out, enjoy wildlife viewing, and still have time for landing and a swim. It’s also a hint: the longer route to the larger island can take over an hour one-way or as part of your paddling plan, so you’ll want to manage your time instead of charging forward.
Paddle to the seabird sanctuary: what you’ll likely see on the water
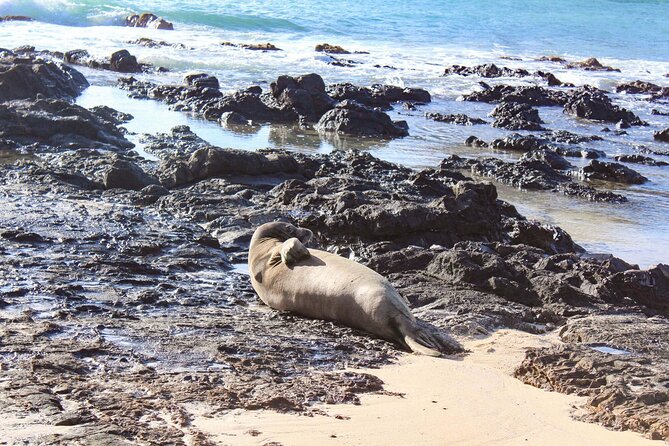
The main payoff is the paddle itself. The islands are a seabird sanctuary, and the water route gives you a chance to scan for marine life before you ever reach land.
You’ll be out on the kayak looking for movement near the surface. The tour notes that you might see a sea turtle or two, and you may also spot things like flying fish when you paddle toward the larger island. Those quick flashes are the kind of detail that makes the whole effort feel worth it.
Here’s the practical truth: wildlife sighting is never guaranteed, and the bigger the action you take (fast paddling, constant repositioning), the less time you’ll spend quietly watching. If you want the best odds, slow down your strokes when you spot birds or any calm patches of water. Let the island do the work—your job is to keep your kayak stable and keep your eyes open.
If you’re aiming for the larger island, remember it’s more adventurous and can take over an hour, so plan for the fact that your energy and daylight matter.
Landing on Moku Nui or the smaller island: shoes, lava, and pacing
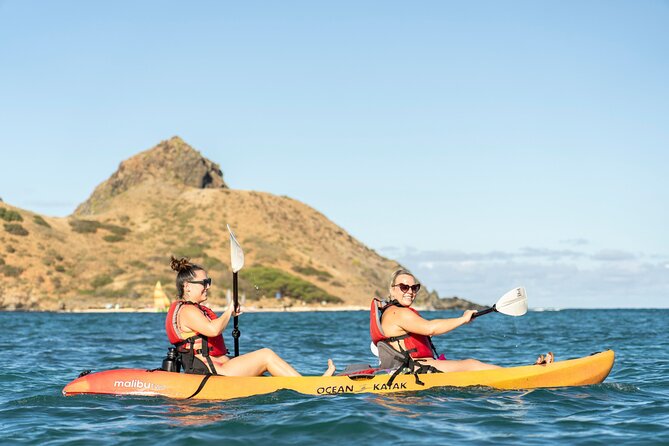
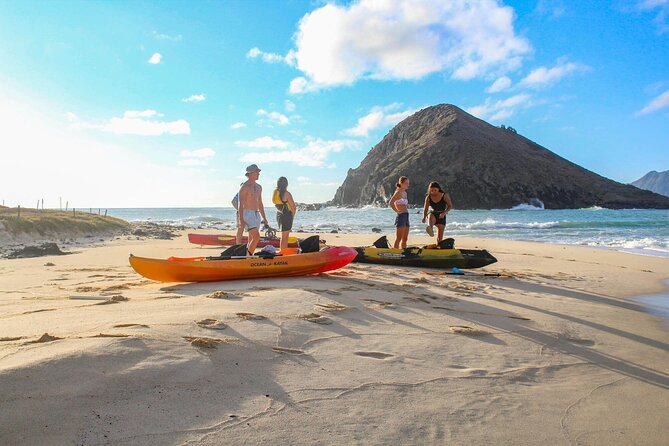
Once you reach the island(s), you’ll have permission to land as part of the included permits for landing. That’s not a minor detail. It means you’re not just floating nearby—you’re able to step onto the island in a way that keeps you on the right side of sanctuary rules.
You’ll also do a short walk on the island. This is where I’d pay attention to the footwear note: bring sports shoes, and consider shoes or sandals that protect your feet if you’re not used to rough lava. Lava can be sharp and uneven, and flip-flops don’t always forgive a misstep.
Pacing matters here too. If you rush the walk to beat the water time, you miss what makes the island special. Keep the walk short and purposeful. Watch your surroundings for seabirds and notice how the shoreline looks from different angles—sometimes the life you’ll see is right where you least expect it.
The islands are small, but they’re not empty. Treat this as a living place with animals using the shoreline. The best experience usually comes from slow movement and respectful attention rather than constant taking-off-and-go.
Swim at the Queens Bath: what it is and how to enjoy it
The Queens Bath is the standout “water moment” on this adventure. It’s described as an eight-foot-deep ocean water swimming hole on the backside of Moku Nui.
That depth clue matters. You’re not talking about a shallow splash zone. You’ll want to feel comfortable being in open ocean water at swim depth, and you should think about entry and exit timing. The good news is that it’s specifically set up as the best self-guided kayak swim experience in Kailua, which tells you the location is the main reason people pick this outing.
When you’re planning your time, don’t treat the swim like a quick add-on. The swim should be part of the day’s rhythm: kayak, observe, land and explore, then transition to swimming when conditions and your energy feel right.
Also, keep your snorkel gear ready. The tour includes snorkel gear, and if you’ve got the time and calm conditions, using it in the Queens Bath area can turn a swim into a more complete experience.
Wildlife viewing without turning it into a scramble
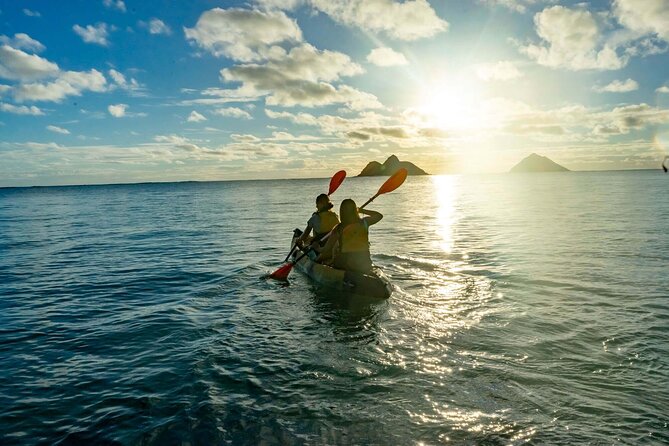
This outing’s wildlife angle isn’t just a marketing bullet. Monk seals and seabirds change how you move. You’ll do better if you keep your kayak and your feet steady and your attention gentle.
Monk seals can be hard to spot on other beaches because they pick very specific resting spots and they don’t always stay visible. Here, the tour focuses on the fact that the beach areas are resting spots, which increases your odds. Still, the way you behave matters. If you get close quickly or move erratically, you’ll disrupt the whole moment—and you’ll likely stop seeing what you came for.
My practical advice: keep your distance, watch from where you are, and use small movements. If you’re wearing snorkel gear, don’t make repeated jumps in and out of the water. Plan one swim segment, enjoy it, then move on.
If you’re also hoping for turtles, remember the paddle out to the larger island is where the tour suggests you might see them. That doesn’t mean turtles ignore the smaller island—it just means your best scanning window may be during the paddling leg and near interesting water patterns.
Gear and comfort: what’s included and what you should add
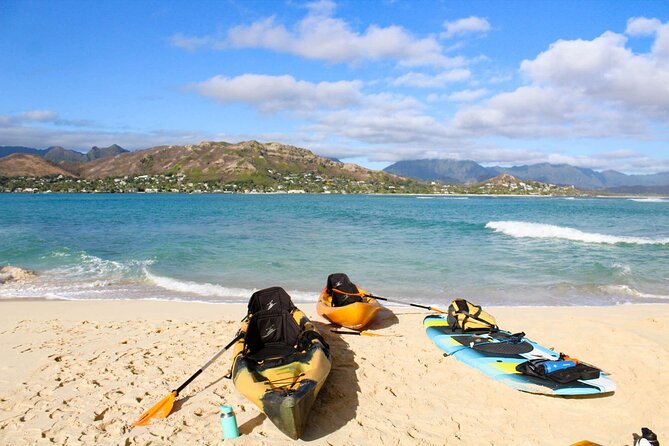
Included gear takes a lot of stress out of planning. You get:
- Kayaks
- Dry bags
- Snorkel gear
- Safety equipment
- Permits for landing
That’s a solid package for an outing at this price point, because it covers the pieces you’d normally have to rent or bring yourself.
What you should add is simple: sports shoes. They’re not optional if you want comfortable island time. The island walk can mean rough footing, and it’s smart to protect your feet so you can actually enjoy the explore portion instead of thinking about every step.
One more comfort tip: since this is self-guided, your mental plan should be clear before you push off. Know which island you’re aiming for. Know when you’ll turn back. If you’re prone to overextending, build in a buffer. You’re responsible for your own pacing.
Price and value: is $89 for 4 hours fair?
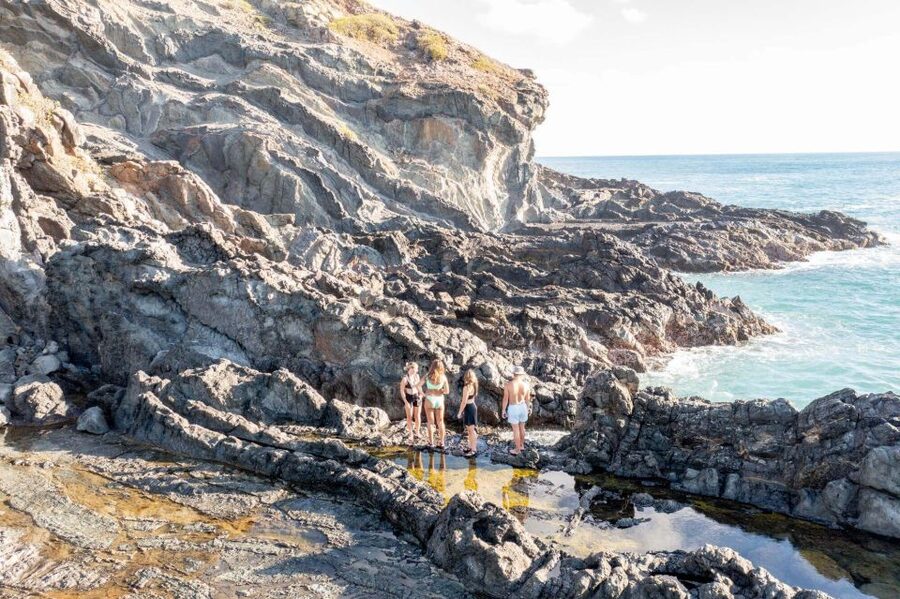
At $89 per person for about 4 hours, the value mainly comes from what’s included and the fact you can land legally. You’re not just paying for a kayak. You’re paying for the full setup: dry bag, snorkel gear, safety gear, and the permits for landing.
Permits are the kind of detail you don’t always see on a basic paddle rental, but here it’s part of the experience logic. Landing and exploring on a sanctuary island isn’t just a bonus. It’s a core part of why this outing is special.
Is it a deal? For the right person, yes. If you already planned to bring snorkel gear and rent a kayak, your costs add up fast. If you’re comfortable kayaking and want wildlife plus a true swim spot, this price makes sense.
The one time it might feel steep is if you’re new to kayaking and would struggle with the timing. In that case, you might not enjoy the full set of activities. You’d be paying for potential you may not be ready to use.
Who should book this self-guided Mokulua Islands adventure
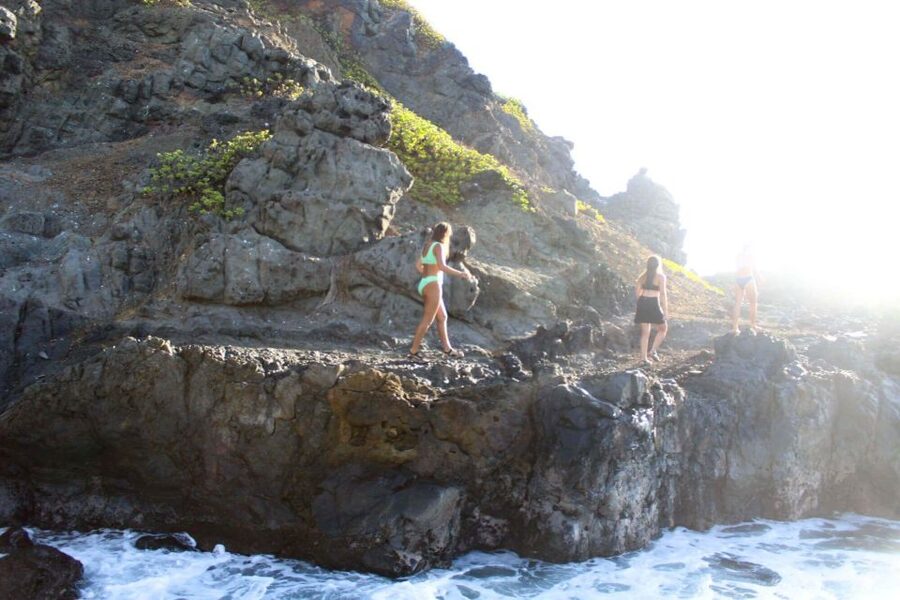
This is a strong fit if you:
- Want a self-guided experience with staff support at the start
- Are comfortable spending time in a kayak and switching between paddling and short walking
- Like wildlife experiences where patience matters (especially for monk seals)
- Want a serious swim moment at Queens Bath
It’s also a great pick if you like having control over your pace. You can slow down for sightings. You can spend longer near interesting water. You’re not stuck in a parade.
If you’re a total beginner, read the room before committing. One of the key considerations from people who’ve done it solo is that it can be difficult if you’re not used to paddling. If you want to try anyway, plan to practice basics beforehand and consider paddling confidence as part of your decision.
Should you book the Mokulua Islands kayak adventure?
I think you should book this if you want an animal-and-water experience that goes beyond a shoreline stroll. The combination of rare monk seals, landing permits, included snorkel setup, and a defined swim goal at the Queens Bath makes the day feel focused.
Skip it or reconsider if you know you’re not comfortable paddling yet. The island walk can be tough on bare feet because of rough lava, and the longer route can take extra time. Comfort and confidence matter more here than luck.
If you go in with realistic pacing, wear real shoes, and give yourself room to enjoy the water quietly, this becomes one of those Hawaii days that sticks.
FAQ
FAQ
Where is the meeting point for the Mokulua Islands self-guided kayak adventure?
You meet at the Active Oahu storefront at 134B Hamakua Dr., Kailua, HI 96734. Park in an open bay after going through the gate.
How long does the tour last?
The duration is 4 hours.
What is included with the kayak adventure?
It includes kayaks, dry bags, snorkel gear, safety equipment, permits for landing on the island, and help loading and unloading at the storefront.
Do I need to bring snorkel gear or a wetsuit?
Snorkel gear is included, and you don’t need to bring it. The provided information does not mention wetsuits, so plan based on your own comfort.
What should I bring for the island walk?
Bring sports shoes. The tour notes that you may want shoes or sandals to protect your feet on the rough lava.
Do I need a specific type of car to transport the kayak?
You should have a 4-door car to transport the kayak a few minutes to the beach.
Can I see monk seals and sea turtles?
The tour is built around the chance to see rare monk seals. It also notes you might spot a sea turtle or two while you paddle out.
What is the Queens Bath, and how deep is it?
Queens Bath is an ocean water swimming hole described as about eight feet deep on the backside of Moku Nui.
Is it refundable if my plans change?
Yes. It offers free cancellation up to 24 hours in advance for a full refund.