REVIEW · BRISTOL
Bristol Harbourside Self-Guided Walking Tour
Book on Viator →Operated by Pandemic Tours · Bookable on Viator
Bristol’s docks tell stories as you walk. I like the fact that Helen’s audio is human-guided (not a robot), and you get a simple GPS map with turns and stops so you’re not constantly hunting. I also like that the route hits lots of worthwhile sights without paying admission at the stops. One thing to plan for: like any self-guided walk in a living city, directions can be a little fussy if streets are blocked or your signal is weak.
This is a practical way to explore Bristol Harbourside at your own speed, with just enough structure to keep you moving and plenty of room to linger by the water. The tour is offered in English, runs about 2 to 3 hours, and you can replay it for 3 weeks after you activate it.
If you want a completely hands-on experience with a real guide answering every question on the spot, this isn’t that. But if you like a well-set walking route with short, story-focused stops, it’s a strong fit.
In This Review
- Key points before you start
- Price and value: $12.33 for a 2-to-3-hour dock story
- How it works: app-based audio, GPS route, and no in-person guide
- Where you start and finish
- The walk itself: from Canon’s Marsh to Brunel’s iron ship
- Stop-by-stop: what each part is really about
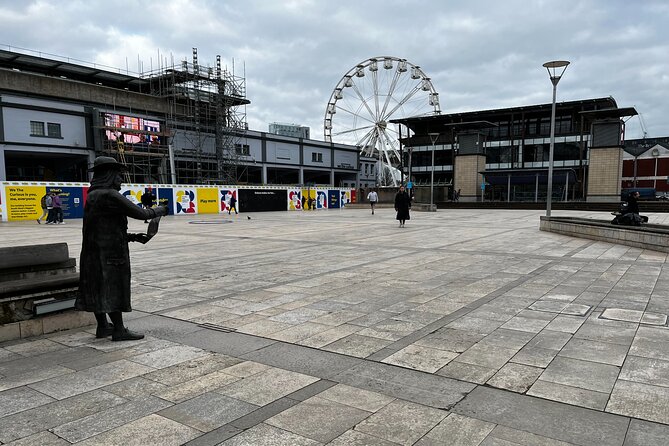
- Stop 1: Millennium Square (Canon’s Marsh)
- Stop 2: Bristol Amphitheatre & Waterfront Square
- Stop 3: Pero’s Bridge and its horn-shaped sculptures
- Stop (Middle Ages harbor along the confluence)
- Stop 4: College Green (Abbey, famous art, chapel, museum)
- Stop 5: King Street (traders, captains, and goods)
- Stop 6: Queen Square (Georgian park on marshland)
- Stop 7: Welsh Back (and why it has that name)
- Stop 8: Castle Park (old castle and medieval settlement)
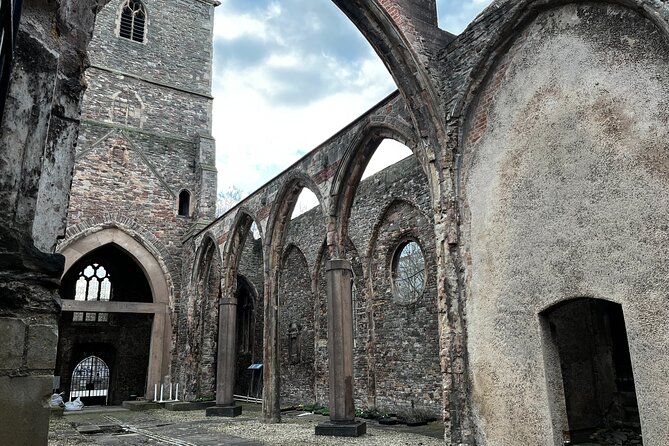
- Stop 9: Bridge Quay (Bristol Bridge + three church views)
- Stop 10: St Mary Redcliffe Church (rebuilt after early decay)
- Stop 11: Redcliffe Caves (sandstone caves under the wharf)
- Stop (Bathurst Basin and the Ostrich pub)
- Stop 12: Princes Wharf (docks now quiet, evidence still visible)
- Stop (The Matthew of Bristol replica)
- Stop 13: M Shed (free museum you can dip into)
- Stop 14: Wapping Wharf (shipbuilding and repair)
- Final anchor: the dock that launched SS Great Britain
- Timing tips: how to finish in 2–3 hours (and not feel rushed)
- Who this tour is best for
- Should you book this Bristol Harbourside self-guided walk?
- FAQ
- FAQ
- How long is the Bristol Harbourside self-guided walking tour?
- What does the tour cost?
- Is the tour offered in English?
- Do I need an in-person guide?
- Are there admission fees for the stops?
- How long can I access the tour after booking?
- Where does the tour start and end?
Key points before you start
- Helen’s narration keeps the route moving with stories tied to what you’re looking at.
- GPS directions and a map reduce guesswork, and the app includes videos, pictures, and recommendations.
- Free-entry stops make the price easier to justify.
- The walk threads together the city’s water history, dock life, and Brunel-era ambition.
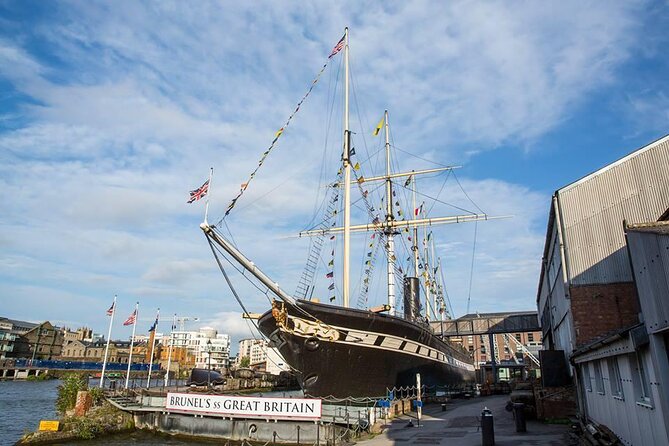
- The route ends near Brunel’s SS Great Britain, so you can keep going if you want.
Price and value: $12.33 for a 2-to-3-hour dock story
At $12.33 per person, this self-guided walking tour is priced like a snack, not a big museum day. The value comes from three things you actually use: (1) unlimited access for 3 weeks, (2) an offline-friendly style of touring with a built-in route (map, directions, GPS), and (3) lots of stops where the admission ticket is listed as free.
Because the tour is self-paced, you also avoid the common cost-killer: time. You can pause for photos at Pero’s Bridge, detour for a coffee near Welsh Back, and still finish in the time window. That flexibility matters when your day is already crowded with other plans.
One practical note: it’s non-refundable and cannot be changed, so only book it if your Bristol date is pretty solid.
You can also read our reviews of more tours and experiences in Bristol.


How it works: app-based audio, GPS route, and no in-person guide
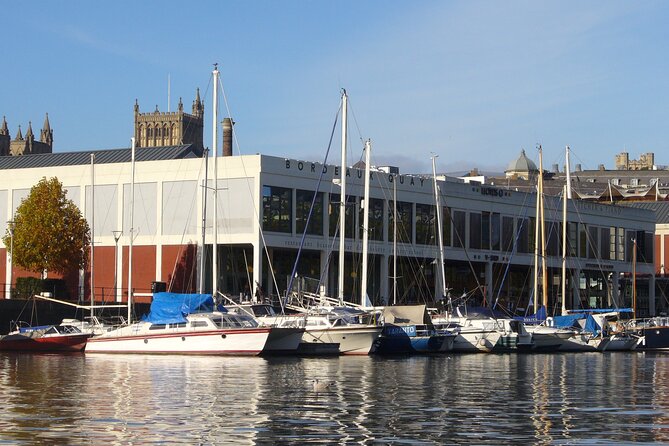
This is a private self-guided activity for your group only, and there’s no in-person guide. Instead, Helen guides you through an audio guide on the app, with supporting videos and pictures. The tour is in English, and service animals are allowed.
The experience is available from 12:00 AM to 11:30 PM (daily) during the listed service window, so you can pick a time that matches your energy level. Since this is mostly outdoors, I’d start earlier if you don’t love late-day crowds near the water.
Where you start and finish
You’ll begin at a pinpoint location given as a plus code (9C3VC9XX+WRRC9XX+WRR) in Bristol. The walk ends in the city center area with recommendations provided in the tour, and the route’s final anchor is Brunel’s SS Great Britain at Great Western Dockyard, Gas Ferry Rd, Bristol BS1 6TY.
The walk itself: from Canon’s Marsh to Brunel’s iron ship
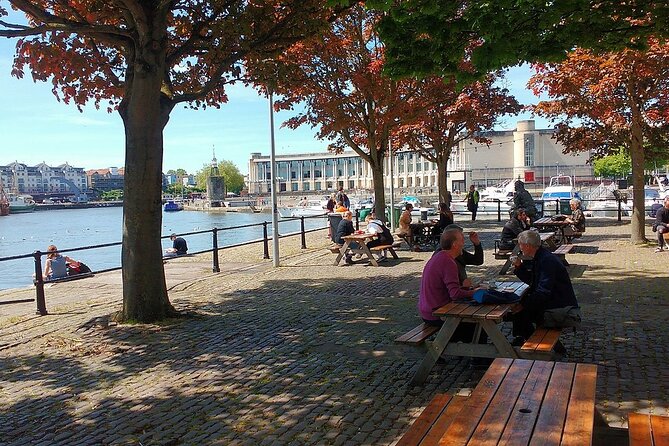
Think of the route as a sequence of “look closely, then listen.” Each stop gives you a small visual moment—bridge sculptures, church towers, a cave system, dock basins—then explains how Bristol became the port it was.
If you’re the type who likes structure but hates being herded, this route hits the sweet spot.
Stop-by-stop: what each part is really about


Stop 1: Millennium Square (Canon’s Marsh)
You kick off in Millennium Square, built on the site of Canon’s Marsh. This used to be marshy land where the River Frome met the River Avon. The land was drained and developed in the early 18th century, which means you’re starting the walk with the key theme of Bristol Harbourside: water, then land reclaimed, then trade.
Even if you’re not a history buff, this sets your mental map fast. You’ll understand why so many nearby places feel like they grew out of wetlands and waterways.
Stop 2: Bristol Amphitheatre & Waterfront Square
Next up: Bristol Amphitheatre & Waterfront Square. It’s a skate-friendly zone, so you might spot skateboarders carving along where they’re allowed to ride. It’s also a reminder that cities shape themselves around real-life use—sometimes in ways that look messy or accidental until you notice the design logic.
This stop is short, but it helps you “read” the area as a place people live in now, not just a backdrop for photos.
Stop 3: Pero’s Bridge and its horn-shaped sculptures
At Pero’s Bridge, you’re looking at a modern bridge with a long story layered in. It opened in 1999 and is named for an important local figure—plus there’s that unmistakable detail: the pair of horn-shaped sculptures. Helen’s audio explains the who and why, so don’t rush past the sculptures like they’re just decoration.
This is one of those stops where slowing down pays off. Look at the bridge details, then let the audio connect them to Bristol’s people.
Stop (Middle Ages harbor along the confluence)
You also get a stop tied to the Middle Ages harbor that developed along the riverside at the confluence of the Avon and Frome. The tour points you toward the approximate location where today’s fountains are, and you’ll hear the harbor tale plus recommendations for what to visit around the area.
This is a nice “big picture” moment. After a bridge and squares, you zoom out to the original reason the area matters: ships needed a safe place to gather and trade.
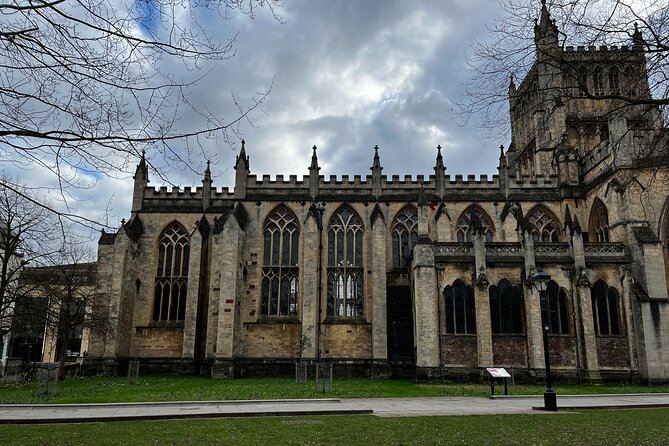
Stop 4: College Green (Abbey, famous art, chapel, museum)
College Green is a gathering point with a lot packed in. You’ll hear about an important church complex (the Abbey), some works of art by an extremely famous artist, another chapel, and a museum.
Even in a short stop, this is valuable because it balances the waterfront focus. Bristol wasn’t only dock work—it was also institutions, learning, art, and faith all rubbing shoulders.
Stop 5: King Street (traders, captains, and goods)
On King Street, the tour has you imagine the working Bristol: ship captains, traders, and ship workers moving goods between boats and stores. It’s a storytelling stop, so keep an eye out for street rhythm—where a busy street would make sense for supply lines.
If you like “walking with context,” this one is for you.
Stop 6: Queen Square (Georgian park on marshland)
Queen Square is a Georgian park surrounded by trees and cobbled streets. Here’s the twist: it used to be marshland used for dumping rubbish and weapon-practice. Houses were built from 1699, starting on the south side of the square.
That detail changes how you see the stones under your feet. It’s a reminder that a pleasant park can sit atop something gritty and practical.
Stop 7: Welsh Back (and why it has that name)
Welsh Back is still busy today, especially in the evening, with bars and fine restaurants, including some venues on boats. The audio also explains what the unusual name means and ties it back to the area’s past.
This is a good stop to time with your meal plans. If you’re hungry, take the audio, then use the stop as a launch point for dinner nearby.
Stop 8: Castle Park (old castle and medieval settlement)
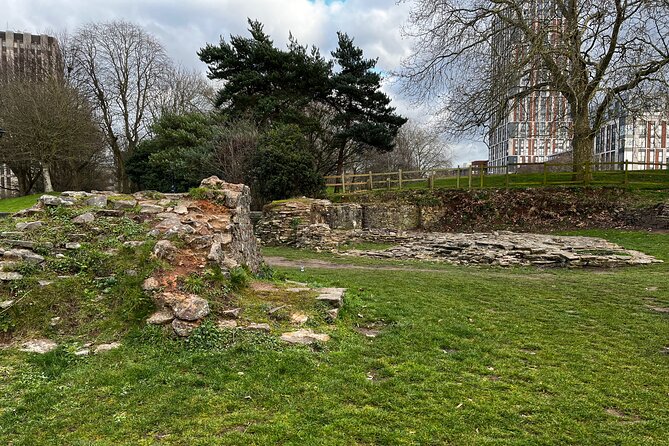
At Castle Park, you’re at the site of the old castle and Bristol’s medieval settlement. Helen’s guidance keeps it focused on what you can see now versus what would’ve stood here long ago.
This is another “short but meaningful” stop. You’ll likely walk differently once you know the ground was once a power center, not just a green space.
Stop 9: Bridge Quay (Bristol Bridge + three church views)
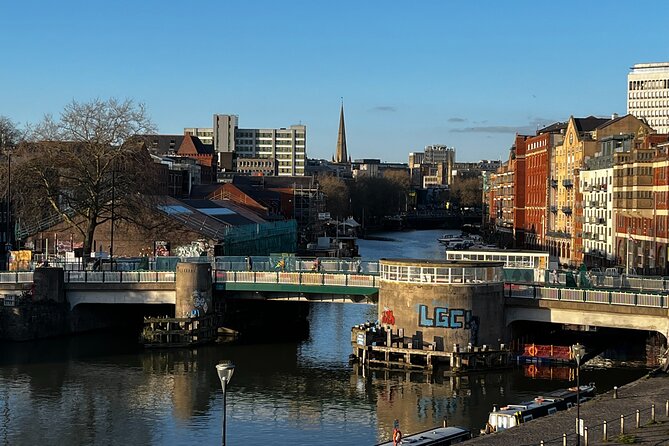
Bridge Quay gives you a view toward the Bristol Bridge, with St Peter’s, St Nicholas’, and St Mary Le Port in the background. The tour also connects the Bristol Bridge with the belief that the settlement of Bristol began around this spot.
This is a great moment to pause. Let your eyes scan across the skyline, then listen for the settlement story. It’s one of the few stops where the scenery does real work.
Stop 10: St Mary Redcliffe Church (rebuilt after early decay)
At St Mary Redcliffe Church, you’ll hear how the church you see today isn’t the first one. An earlier church from Henry I’s time fell into disrepair, then the church was rebuilt in the 14th century.
Redcliffe is the area name, tied to the red Triassic sandstone you’ll see later in the walk. This stop helps you connect the church to the geology and the neighborhood identity.
Stop 11: Redcliffe Caves (sandstone caves under the wharf)
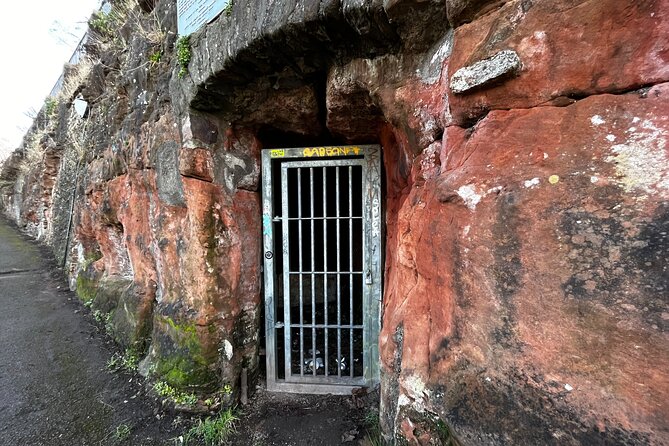
Now for the physical wow: Redcliffe Caves. Redcliffe is named for the bright red Triassic sandstone rocks visible from here. Houses along Redcliffe Wharf were built above a cave system that leads back toward St Mary Redcliffe church.
This is where the tour becomes more than scenery. It shows how geology shaped where people lived and built in the first place.
Stop (Bathurst Basin and the Ostrich pub)
You also pass the area around Bathurst Basin, where the basin lost its water supply when the New Cut was dug in 1809. At the entrance, the Ostrich pub (built around 1745) would’ve served sailors, dock workers, and merchants.
This is a great “why the dock map looks like it does” moment. Water engineering created the dock world, and pubs popped up around the humans doing the work.
Stop 12: Princes Wharf (docks now quiet, evidence still visible)
Princes Wharf is one of those “past vs present” places. Most Bristol docks are now closed to cargo ships, so the area feels different from its trading heyday. The tour encourages you to look closely for evidence of what dock life was like.
This is where slow walking helps. You’re not looking for one big object; you’re noticing patterns—shapes, edges, remnants of movement and storage.
Stop (The Matthew of Bristol replica)
You’ll also encounter the Matthew of Bristol, described as a replica of the original ship John Cabot sailed in 1497. The surprise detail: the replica made an Atlantic voyage to Canada in 1997 to mark the 500th anniversary of Cabot’s journey.
This stop connects Bristol Harbourside to exploration beyond Europe. It’s not just about trade in goods; it’s about trade in ideas and voyages.
Stop 13: M Shed (free museum you can dip into)
M Shed is a free museum about Bristol. The tour points out that it’s one of the few parts of the harbourside that retains original features, and it’s worth visiting if you have time.
Because this is self-guided, you can choose your pace here: if you only want a quick look, skim. If you want deeper context, spend more time and let the earlier stops click into place.
Stop 14: Wapping Wharf (shipbuilding and repair)
At Wapping Wharf, you’re in former shipbuilding and repair territory. In the 1800s, Bristol Docks would’ve been packed with boats loading and unloading goods.
Even if today feels calmer, the tour’s framing helps you picture the labor. That makes the wharf area feel more real, not just photogenic.
Final anchor: the dock that launched SS Great Britain
The route’s end is tied to SS Great Britain, built on this dock by Isambard Kingdom Brunel. It was the largest ever at the time and the first ship constructed using iron. When it launched in 1843, it was described as the greatest experiment since the creation.
This is the perfect finish because it pulls everything together: engineering, maritime ambition, and Bristol’s role in industrial history. If you’re even slightly interested in ships, don’t rush out at the end point.
Timing tips: how to finish in 2–3 hours (and not feel rushed)
The stated duration is about 2 to 3 hours, so pace matters. A good approach is to treat most stops as 3–7 minutes of looking and listening, with only a longer pause at the spots that need it (the caves, the bridge views, and the dock area near the end).
If you hit any navigation friction—confusing street access, detours, or blocked passages—use the app GPS to re-sync rather than trying to force the route. Build in a little buffer time if you’re visiting during a busy part of the day.
Also: bring comfy shoes. Even if the route is manageable, Harbourside streets can be uneven.
Who this tour is best for
- You want a guided walk without a strict schedule.
- You like short audio stops that connect streets and landmarks to stories.
- You’re visiting Bristol for the first time and want a route that covers key Harbourside highlights.
- You’re traveling with friends who don’t all want museums the same way.
It’s less ideal if you need a human to handle questions in real time or to adapt the route instantly for mobility needs.
Should you book this Bristol Harbourside self-guided walk?
I’d book it if you want a low-cost way to get oriented in Bristol Harbourside and you’re comfortable using an app with GPS. The combination of human narration by Helen, mapped route support, and a finish near Brunel’s SS Great Britain makes it a sensible day-plan.
Skip it if you hate any self-guided navigation at all, or if your schedule is too tight to handle occasional reroutes. And because it’s non-refundable, only commit if your Bristol date is locked in.
FAQ
FAQ
How long is the Bristol Harbourside self-guided walking tour?
It’s listed as about 2 to 3 hours.
What does the tour cost?
The price is $12.33 per person.
Is the tour offered in English?
Yes, it’s offered in English.
Do I need an in-person guide?
No. Helen guides you through an audio guide in the app, and there is no in-person guide.
Are there admission fees for the stops?
The stops in the route are listed with admission ticket free.
How long can I access the tour after booking?
You get 3 weeks unlimited access on the app.
Where does the tour start and end?
It starts at the Bristol plus-code location provided in the tour details, and it ends near the city-center area, with the final anchor at Brunel’s SS Great Britain, Great Western Dockyard, Gas Ferry Rd, Bristol BS1 6TY.