REVIEW · NELSON NEW ZEALAND
Nelson to Mapua: Full-Day Cycling Self-Guided Adventure
Book on GetYourGuide →Operated by Kiwi Journeys · Bookable on GetYourGuide
A day of cycling with real scenery waits for you. This Nelson-to-Mapua ride threads together the Great Taste Trail, coastal boardwalks, the Waimea Swing Bridge, Rabbit Island, and a classic ferry crossing. It’s a self-guided route, so you can set a comfortable pace while still hitting the big sights.
I especially love two things: the mix of bike infrastructure plus built-in navigation (those blue trail markers really help), and the way the day’s stops feel like a sampler platter—Classic Car Museum, a friendly pub, and plenty of wineries and craft breweries. One drawback to know up front is that it’s not for people who can’t comfortably ride a bike, and one stretch can feel more exposed to wind and open-road conditions than the coastal sections.
In This Review
- Key things to know before you go
- Nelson to Mapua: a full-day ride built for scenery and stops
- Getting set up in Nelson: bike fit, briefing, and trail tools
- Following the Great Taste Trail: Nelson city to Mapua’s first big vibe
- Coastal views and boardwalk breaks near Waimea
- Waimea Swing Bridge: the photo moment you cycle into
- Rabbit Island: swim options and channel-time relaxation
- Mapua Ferry and the wharf landing at Mapua Wharf
- Price and value: what you’re paying for at $77 per person
- Pace, conditions, and comfort tips that actually help
- Who this is best for (and who should skip it)
- Should you book Nelson to Mapua cycling?
- FAQ
- FAQ
- How long is the Nelson to Mapua cycling adventure?
- Is this tour guided?
- What’s included with the price?
- What food and drinks are included?
- Where do I meet for the tour?
- What bike gear do you provide?
- Can I choose my departure time?
- What should I bring?
- Is the tour suitable for people with mobility issues or non-cyclists?
Key things to know before you go
- Great Taste Trail + blue markers make it simple to stay on course.
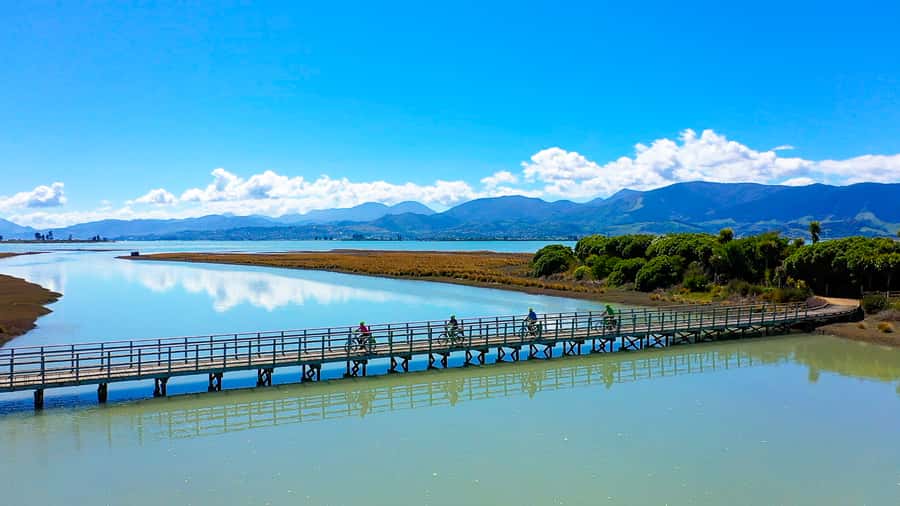
- Waimea Swing Bridge is a true visual payoff after the boardwalk views.
- Rabbit Island break gives you options for a swim in freshwater or warm sea water.
- Mapua Ferry crossing adds a fun “channel moment” to the ride.
- Self-guided, not escorted means you manage your own pace and navigation with the provided documentation.
- Return transport included so you’re not stuck figuring out buses after dinner.
Nelson to Mapua: a full-day ride built for scenery and stops
This is the kind of cycling day that feels like you’re getting more than just kilometers. You start in Nelson, work your way south along the Great Taste Trail, then finish in Mapua with a lively wharf atmosphere and plenty of food options. The route is designed around coastal views and local tastings, so it’s not a grind of riding with no reward stops.
The self-guided format matters. You aren’t constantly waiting on a group or stopping for photos with a schedule. Instead, you get your bike fitted, a briefing, trail documentation, and a souvenir map—then you follow the trail markers at your own pace. For me, that’s the sweet spot: enough structure to keep you confident, enough freedom to slow down when the views are good.
And yes, there are plenty of chances to pause. You can hop into the vibe of a country-style pub, check out a car museum, and stop at wineries or craft breweries along the way. The “holiday feel” is built into the itinerary.
Getting set up in Nelson: bike fit, briefing, and trail tools
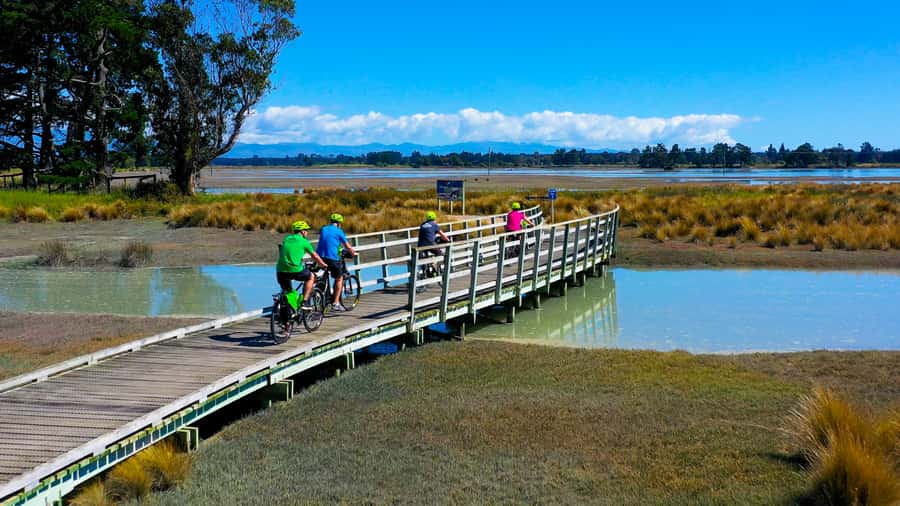
Your day starts in Nelson at 16B Paru Paru Road. Show up about 20 minutes early so they can get you into the right bike setup and get you briefed before you roll out. Kiwi Journeys opens at 9am, and your departure time is flexible, which is handy if you want a slower start.
Here’s what you actually get with the bike package. You’ll be provided with a trail comfort bike, a helmet, a repair kit, and either panniers or a carrier bag for your stuff. There’s also an odometer plus trail documentation, and you’ll get bottled water and a souvenir map.
That bundle is a big part of the value. Bike hire plus helmet plus navigation support would add up quickly if you tried to DIY. With this setup, you can spend your energy on enjoying the ride instead of worrying whether you’ll be stuck with the wrong bike or no plan if something small goes wrong.
Following the Great Taste Trail: Nelson city to Mapua’s first big vibe
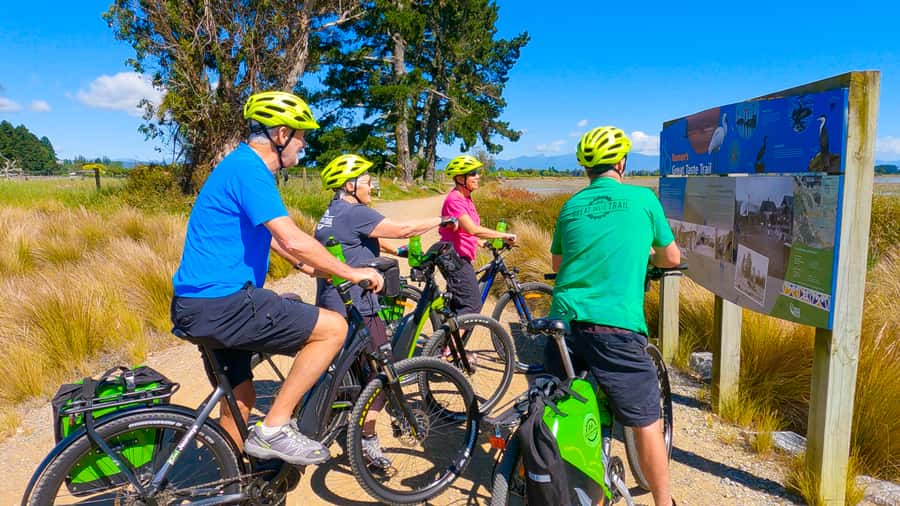
After you’re sorted with your bike and briefing, the route takes you to Mapua on Tasman’s Great Taste Trail. The key navigation idea is simple: you follow the blue trail markers as you head south. You’ll also get to explore Nelson City before the cycling turns more “route-like” and coastal.
This is where the self-guided format helps you. If you’re a confident rider, you can keep rolling with minimal stopping. If you’re more relaxed, you can treat the city-to-coast transition like a warm-up and then settle into the rhythm of the trail.
One early stop you’ll hit is Nelson’s Classic Car Museum. Even if you’re not a serious car fan, it’s a great way to break up the day and add variety. Then you’ll move on to Honest Lawyer, a country-style pub stop. That kind of pause is exactly what makes long rides feel more like an experience than a workout.
After that, the route continues with chances to stop for tastings—wineries and craft breweries. The trail is designed for food and drink lovers, but you don’t have to treat every stop like an obligation. Even a quick look or a short break can reset you for the next stretch.
Coastal views and boardwalk breaks near Waimea
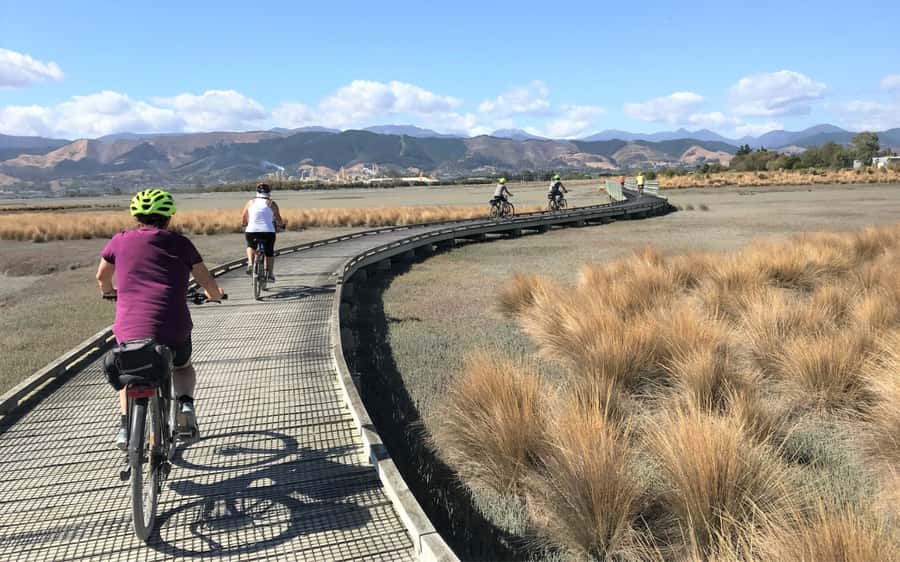
Once you’re onto the scenic parts, the ride starts paying you back for the effort. A major highlight is the Waimea Estuary and farmland views, especially from the coastal boardwalks. Boardwalks are underrated on bike days. They often mean smoother footing and a better sightline, so you get the views with less “should I be watching the ground” stress.
This is also where the ride starts feeling distinctly Tasman Region: water, open sky, and that coastal rhythm. If you like photos, this is the segment where you’ll want to stop and frame things. Even if you don’t care about photos, you’ll feel the difference from the earlier city and museum/pub energy.
One thing to keep in mind: part of the ride can be more exposed than you’d expect. A previous rider noted a stretch with an industrial feel and open conditions near a highway, plus wind exposure when conditions were strong. You can’t predict the weather, so treat this as a “wear-the-right-clothes” moment—especially with warm clothing and rain gear recommended.
Waimea Swing Bridge: the photo moment you cycle into
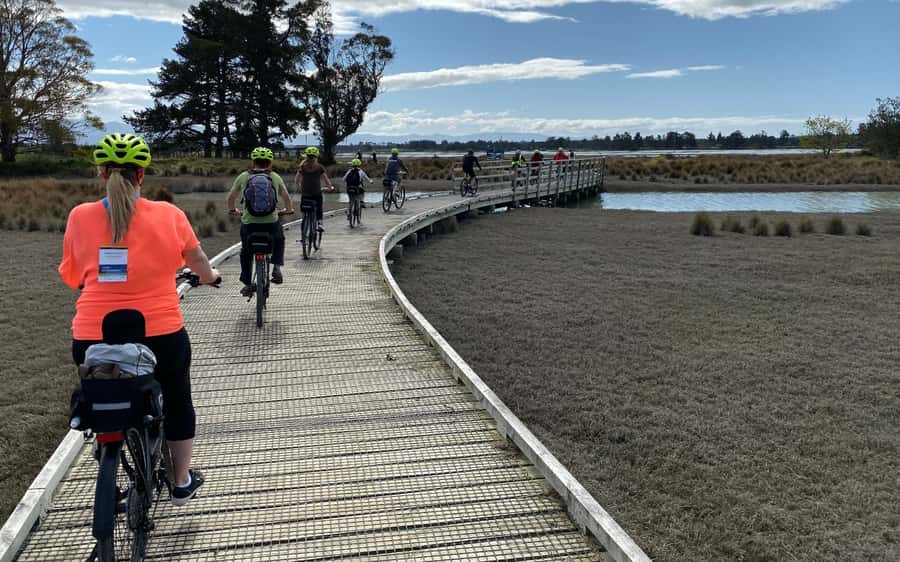
Then comes one of the signature hits of the day: the Waimea Swing Bridge. It’s a striking crossing, and it works as a mental milestone. You’ve been building toward it through boardwalk views and coastal scenery, so once you cross, you feel like you’ve officially entered the “main act” portion of the ride.
From a practical standpoint, bridge crossings also add a useful reset. The pace often becomes slower here—people naturally look around, take in the view, and check their bearings. That makes it a good spot to top up water and make sure you’re feeling good before pushing on toward Rabbit Island.
Rabbit Island: swim options and channel-time relaxation
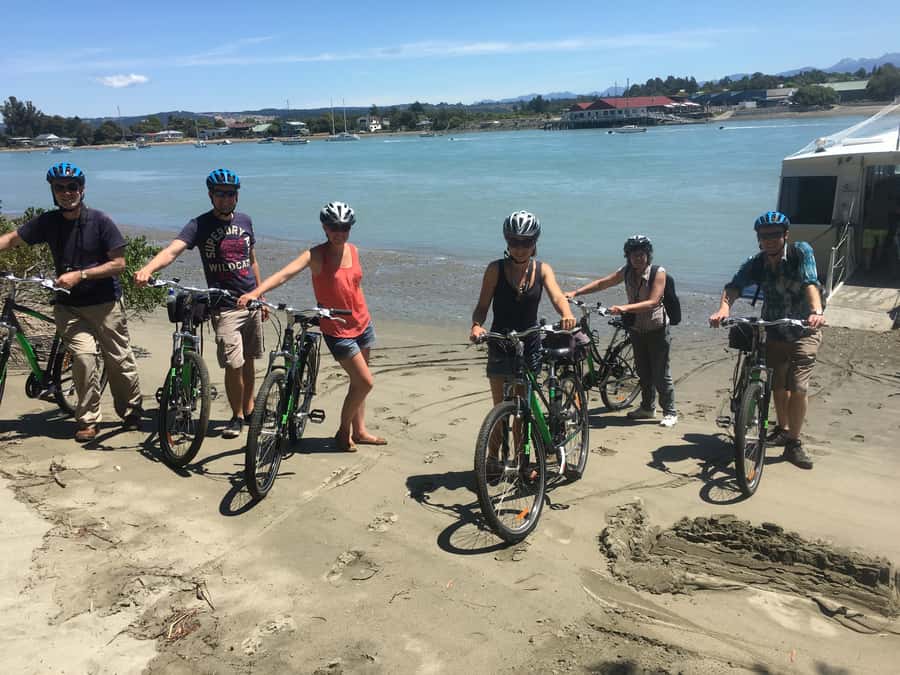
After the bridge, the route continues on to Rabbit Island. This is your big “break” destination before Mapua. The tour experience explicitly includes a swim option: you can take a dip in a freshwater swimming hole, or choose warm sea water instead.
That matters because cycling days can get surprisingly tired even when the terrain is gentle. A swim break turns the day from “moving” to “moving and recovering.” If you’d rather not swim, you can still treat the stop as a time to stretch, refuel, and enjoy the shoreline break.
Rabbit Island also acts like a palate cleanser before you reach Mapua. The day shifts from trail and bridge to ferry and wharf energy. That contrast is part of why this ride feels fun instead of repetitive.
Mapua Ferry and the wharf landing at Mapua Wharf
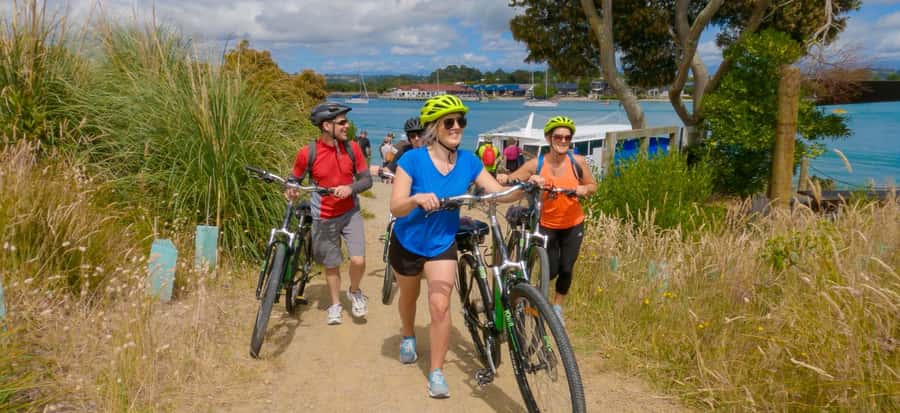
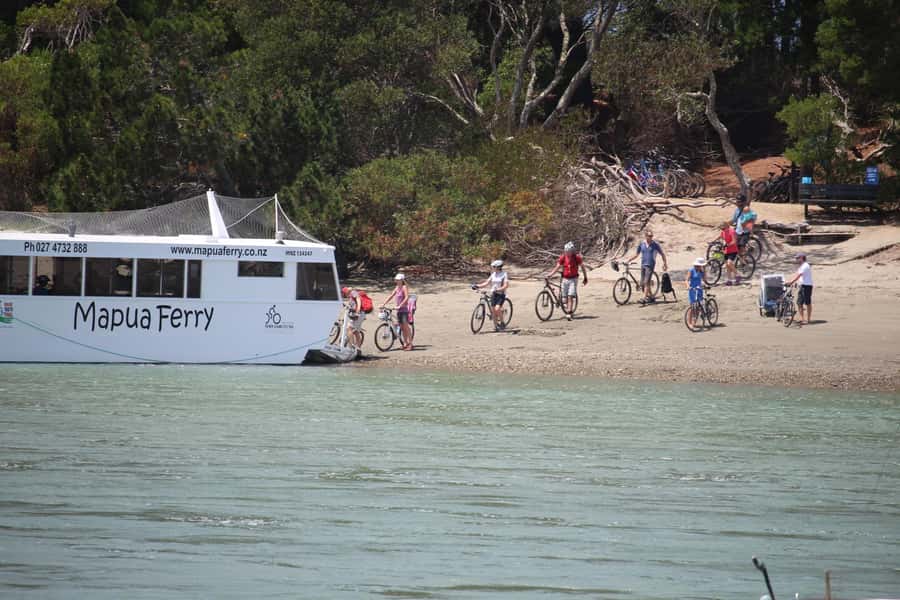
A key part of the experience is the Mapua Ferry crossing, described as an iconic way to journey across the channel. It’s included, so you’re not making complicated decisions mid-day. You just reach the ferry moment and transition into the next part of the plan.
Then you land at Mapua Wharf, where the atmosphere changes from “trail day” to “harbor day.” Mapua Wharf is where you can wander through galleries, studios, restaurants, cafes, and shops. There’s also a stop at Golden Bear Boutique Brewery. Even if you’re not drinking, it’s a fun place to browse and get a sense of the town’s character.
The experience also suggests sitting down for dinner on the wharf after exploring. Meals aren’t included, but the area is set up for casual food. That’s a big win on bike days—finding dinner quickly without hauling your luggage around.
After dinner, you’ll catch the Kiwi Journeys shuttle back to Nelson. That return transport is included, which means you can focus on enjoying your evening instead of trying to solve transport logistics after a full ride.
Price and value: what you’re paying for at $77 per person
At $77 per person for about 7 hours, this can look like a “sometimes expensive bike tour” until you break down what’s included. You’re not just paying for a ride. You’re paying for:
- Bike + helmet + repair kit
- Panniers/carrier bag so you can carry what you need
- Odometer and trail documentation
- Bottled water
- Souvenir map
- Mapua Ferry crossing
- Transport from Mapua Wharf back to Nelson
When you compare that to renting a bike, sorting your own helmet, handling bike security gear, paying for the ferry crossing separately, and then managing your return, the price starts to make sense. You’re paying for a “turnkey day” that removes multiple small frictions.
What’s not included is also important. Meals and alcoholic beverages are on you. If you’re planning wine or beer stops, you’ll want to budget for that separately. But if your food style is simple—snack, lunch somewhere convenient, and then a proper dinner on the wharf—you’ll likely feel the day fits your spending level.
For me, the best value is the combination: self-guided freedom + real scenic anchor points + included ferry and return shuttle. That mix is rare.
Pace, conditions, and comfort tips that actually help
Because this is self-guided, pacing is your choice. The route is designed for a full-day outing, and you’ll likely want a few stops for photos, boardwalk views, and the museum/pub/tastings along the way. If you’re the type who likes to ride steadily, you can keep breaks short and still enjoy the key stops. If you’re more relaxed, you can linger without feeling like you’re “late” for a guide.
What to bring matters here. The basics provided in the tour info include warm clothing and rain gear, plus comfortable shoes and closed-toe shoes. I’d treat that as mandatory logic, not suggestions—coastal weather can shift fast, and boardwalks and ferry landings can feel cooler than you expect.
Here are a few comfort tips based on the reality of a day like this:
- Wear shoes you’re comfortable pedaling in for hours. Closed-toe shoes are the rule for a reason.
- Bring a light layer even if it looks warm at the start; the coast can cool you down.
- If it gets windy on exposed stretches, don’t fight it. Ease your effort a little and focus on staying steady.
Also, manage expectations: it’s not a guided ride with a person leading you turn-by-turn. It’s self-guided with documentation and markers. That’s great for independence, but it also means you should feel comfortable handling navigation on a bike route.
One more note: the tour isn’t recommended for limited mobility and is not suitable if you can’t ride a bike. If you’re unsure about your cycling comfort, think honestly about whether you can handle a full-day ride with stops.
Who this is best for (and who should skip it)
This tour is a strong fit if you want a scenic cycling day in New Zealand that includes classic local stops and a ferry crossing, without the stress of constant group logistics. You’ll enjoy it most if you:
- like cycling enough to do it for most of the day
- want coastal scenery plus food and drink stops
- prefer self-guided freedom over a guided group pace
- enjoy towns with walkable waterfront vibes (Mapua Wharf is made for that)
It’s less of a fit if you need a highly assisted or fully guided experience, or if you’re not confident riding for hours. The route also isn’t recommended for limited mobility, so plan around that.
Should you book Nelson to Mapua cycling?
Book it if you want a day where the scenery is built in and the logistics are handled: bike gear, documentation, ferry crossing, and return shuttle are included. You’ll like it especially if you’re comfortable riding and you enjoy mixing cycling with small attractions—museum stop, pub atmosphere, and winery/brewery breaks.
Skip it if cycling for seven hours sounds like a stretch you’d resent. Also skip if you want a fully guided experience where someone is constantly steering you and explaining everything in real time. This is independence with training wheels.
If you’re in the middle—curious, but cautious—this can still be a smart choice because the trail is supported with blue markers and provided bike documentation. It’s the kind of outing that turns a normal day off into a real story.
FAQ
FAQ
How long is the Nelson to Mapua cycling adventure?
It lasts about 7 hours.
Is this tour guided?
No. It is self-guided, with briefing, trail documentation, and route markers to follow.
What’s included with the price?
All cycle equipment (including a comfort bike, helmet, repair kit, panniers or carrier bag, odometer, and trail documentation), bottled water, a souvenir map, transport from Mapua Wharf to Nelson, and the Mapua Ferry crossing.
What food and drinks are included?
Meals and alcoholic beverages are not included.
Where do I meet for the tour?
The meeting point is 16B Paru Paru Road, Nelson 7010. Arrive about 20 minutes before your activity start time.
What bike gear do you provide?
You’ll be provided a trail comfort bike, a helmet, a repair kit, and panniers or a carrier bag. You also get an odometer and trail documentation.
Can I choose my departure time?
Yes, departure time is flexible. Kiwi Journeys opens at 9am.
What should I bring?
Bring comfortable shoes, warm clothing, rain gear, and closed-toe shoes.
Is the tour suitable for people with mobility issues or non-cyclists?
No. It is not recommended for limited mobility, and it is not suitable if you can’t ride a bike.