REVIEW · QUEENSTOWN
Queenstown: Self-Guided Gibbston Valley Wineries Bike Tour
Book on GetYourGuide →Operated by Around The Basin Bike Queenstown · Bookable on GetYourGuide
Rivers, suspension bridges, and winery stops, all on two wheels. This self-guided Queenstown to Gibbston Valley bike tour turns a wine region day into something active, scenic, and very flexible. You start with a shuttle from Queenstown, get set up with a bike (including an e-bike option), then ride the trail at your own pace between wineries.
I really like two things about this setup. First, you choose where you stop and how long you stay, so you can go for lighter browsing or a full-on tasting-style day without feeling rushed. Second, the ride follows the Arrow and Kawarau rivers, crossing suspension bridges and ending up near the famous Kawarau Bridge bungy area.
The main drawback to plan for is simple: it’s not a flat stroll in a park. Some trail sections can feel more challenging than expected, including gravel that can get slippery and narrow spots with steep drop-offs in places. Also, the shuttle time to/from the start point can reduce your actual bike time, depending on your option.
In This Review
- Key highlights at a glance
- From Queenstown to Gibbston: the shuttle setup that makes it easy
- Getting your bike and briefing: how you navigate the day on your own
- The first ride: Arrow and Kawarau rivers to the Kawarau Bridge bungy area
- Gibbston River Trail and winery stops: your best way to pace the day
- Choosing where to stop (and what to do if a place is busy)
- Standard MTB vs e-bike: what to ride when the hills matter
- Timing, ride distance, and why your “bike time” may feel shorter
- Price and value: how $56 turns into a real day out
- Practical tips to make this ride feel smooth
- Gear and comfort
- Navigation and signage
- Safety and trail feel
- Should you book this self-guided Gibbston winery bike tour?
- FAQ
- How long is the Queenstown to Gibbston Valley self-guided bike tour?
- Where do I meet for the tour?
- What’s included in the price?
- Is wine tasting or food included?
- What time will the shuttle pick me up to return to Queenstown?
- How far do you ride to the first and last winery?
- What should I bring and wear?
Key highlights at a glance
- Self-guided winery choice: Pick stops along the route and set your own pace
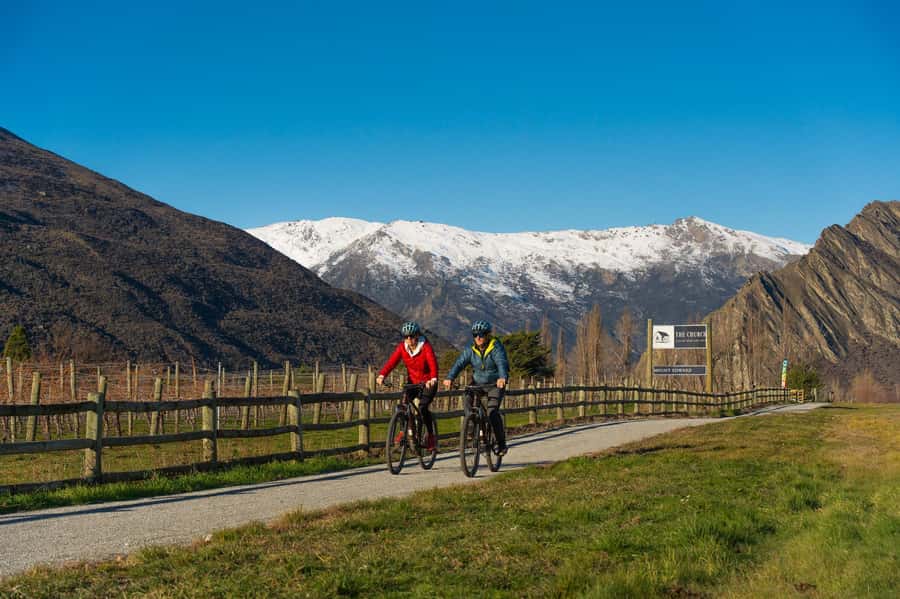
- River trail route: Arrow and Kawarau river scenery plus suspension bridges
- Kawarau Bridge bungy area: You pass right by the world-famous jump spot
- Standard MTB or e-bike: E-bikes help a lot on the hills
- Informative map and briefing: Navigation support so you can ride confidently
- Shuttle back to Queenstown: You get collected from the endpoint on schedule
From Queenstown to Gibbston: the shuttle setup that makes it easy
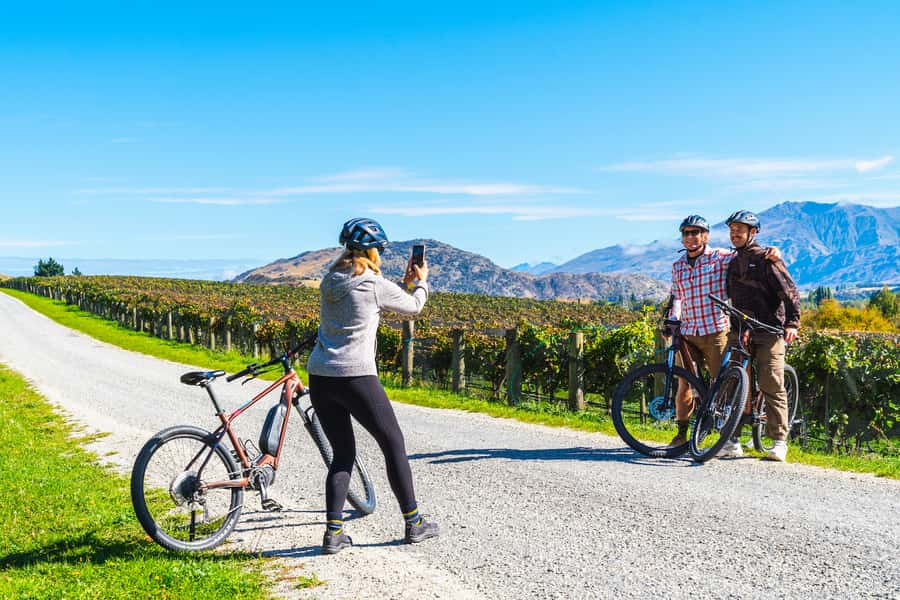
This is one of the nicer ways to do Gibbston Valley because you don’t have to drive between wineries or pay for rides every time you want to move. You meet Around The Basin Bike Queenstown at 3 Searle Lane, check in about 10 minutes before departure, and then you board a scheduled shuttle that takes you to your starting area.
The tour runs with a couple of route options depending on the day you pick. The full-day version starts in Arrowtown. The 3/4-day and half-day versions start at the bike hub in Arrow Junction, about 5 km from the Kawarau Suspension Bridge. That distinction matters, because it affects how long you’re actually pedaling versus being on the van.
Once you’re dropped at the start, you handle the rest: fit the bike, get your navigation guidance, and ride the trail. At the end, you’re back on the shuttle returning to Queenstown. Pickup timing is consistent by season: 4:30 pm in summer and 4:00 pm in winter.
You can also read our reviews of more tours and experiences in Queenstown.
Getting your bike and briefing: how you navigate the day on your own
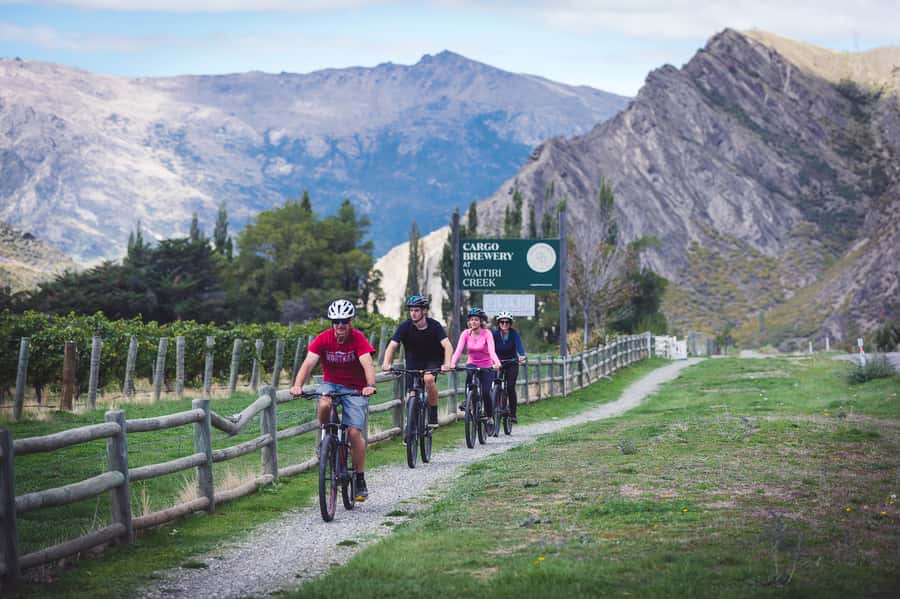
The tour is self-guided, but it’s not “good luck out there.” You’ll get fitted with a quality mountain bike or e-bike, plus a helmet, and you’ll receive a trail navigation and safety briefing from the team. You also get a map that links you to wineries along the ride.
This map-and-briefing approach is a big part of the value. It’s what lets you stop where you want instead of following a rigid group route. It also helps you avoid the common frustration of riding in the wrong direction or spending time trying to decode signage mid-ride.
A practical note from what I’ve learned about similar routes in this area: if you can, take a moment before you start to study the winery list and decide your first and last targets. Even when trails are signposted, it’s easy to lose confidence for a minute if you haven’t chosen your plan.
The first ride: Arrow and Kawarau rivers to the Kawarau Bridge bungy area
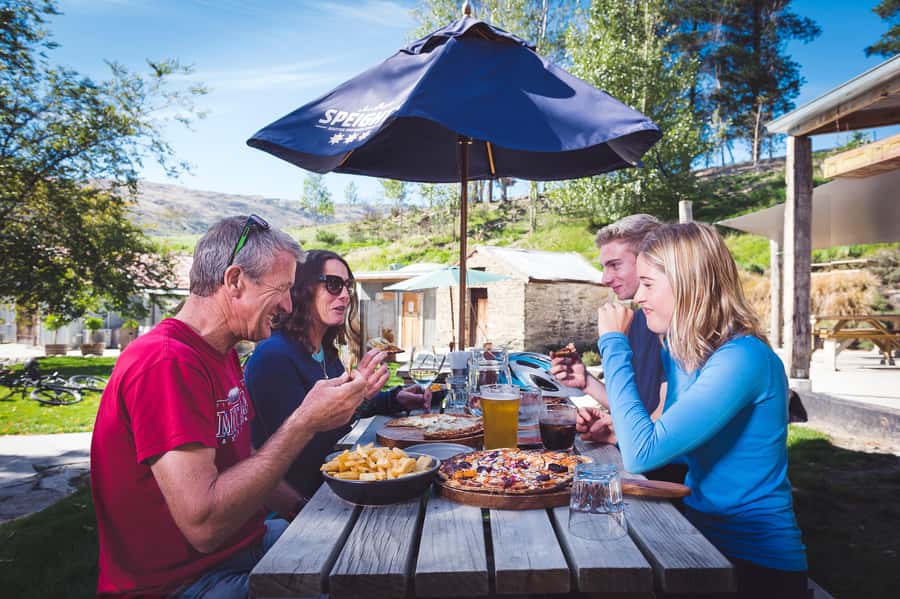
The ride starts with a scenic warm-up along the Arrow and Kawarau rivers. Along the way, you’ll cross suspension bridges, which is one of those small details that makes the day feel like an event instead of just another bike loop.
You’ll also ride into the zone of the Kawarau Bridge, the home of the world-famous bungy jump. You’re not signing up to jump out of a helicopter here, but it’s still a cool moment because it marks where the ride becomes “Queenstown-adjacent”—the same region where adventure tourism is basically the local personality.
How far you ride before your first winery depends on the option:
- Full-day: the first winery is about 15 km from the start, with the last winery around 25 km
- Half-day and 3/4-day: the first winery is about 6 km, with the last winery around 16 km
Either way, that first segment helps you settle into the day. You’re getting rolling, building confidence on the bike, and getting the scenery working for you before you start making wine stops.
Gibbston River Trail and winery stops: your best way to pace the day
After the initial river-and-bridge section, you spend your afternoon riding along the Gibbston River Trail. This is where the self-guided freedom really pays off. You can hop between wineries that are linked to the route and stop for breaks, photos, and food as you go.
Two things you should know when planning your winery strategy:
- Wine tastings and food aren’t included in the tour price. You’re paying for the bike and the ride logistics. Once you’re at each cellar door, you choose what to buy.
- Winery time adds up fast. Even if you only plan for quick stops, you’ll likely find yourself lingering—especially if you want lunch or you land at a place with better service that day.
A common rhythm that works well here is to set aside around 30–45 minutes at each stop if you want a relaxed pace. That gives you time to browse, taste, and reset without turning your ride into a sprint.
Choosing where to stop (and what to do if a place is busy)
The route gives you access to multiple winery venues along the trail, including options like cellar doors and places you can grab food. For a real-world planning angle, I’d keep this in mind: sometimes a tavern might not run full wine-flight service depending on staffing. If that happens, it can be smart to shift your focus to another nearby option that has stronger service that day.
For lunch specifically, one well-regarded strategy is to pick a venue along the route that’s set up for actual meals rather than just snacks. Kinross-style lunch stops have been a strong fit for many people on this trail. And at the end of the ride, the final winery stop can work as your “linger and recap” moment—especially if you’re waiting for your shuttle time.
Even if you’re not a heavy drinker, the wineries are still a good reason to slow down. You get a sense of how the region presents itself, and you’ll often find people working with local-product focus rather than cookie-cutter tasting rooms.
Standard MTB vs e-bike: what to ride when the hills matter
This is not one of those bike tours where everyone can comfortably ignore the climb factor. The option to choose an e-bike is there for a reason: the ride includes hills, and most people end up happier with pedal assist than they expect.
If you’re choosing between the two, here’s the clean way to decide:
- If you want an easier effort level, pick the e-bike. People often say it feels powerful and helps you keep your confidence when you’re tired.
- If you’re already comfortable on mountain bikes and you don’t mind a workout, the standard bike can work fine. Just expect that it can feel more like cycling than cruising, especially if you’re not used to gravel and uneven edges.
A helpful reality check from the experience: even when the trail is generally manageable, some riders find certain sections “hairy” if they’re not used to handling bikes near cliffs or narrow gravel areas. An e-bike won’t remove that risk, but it can reduce fatigue, which makes you steadier.
Timing, ride distance, and why your “bike time” may feel shorter
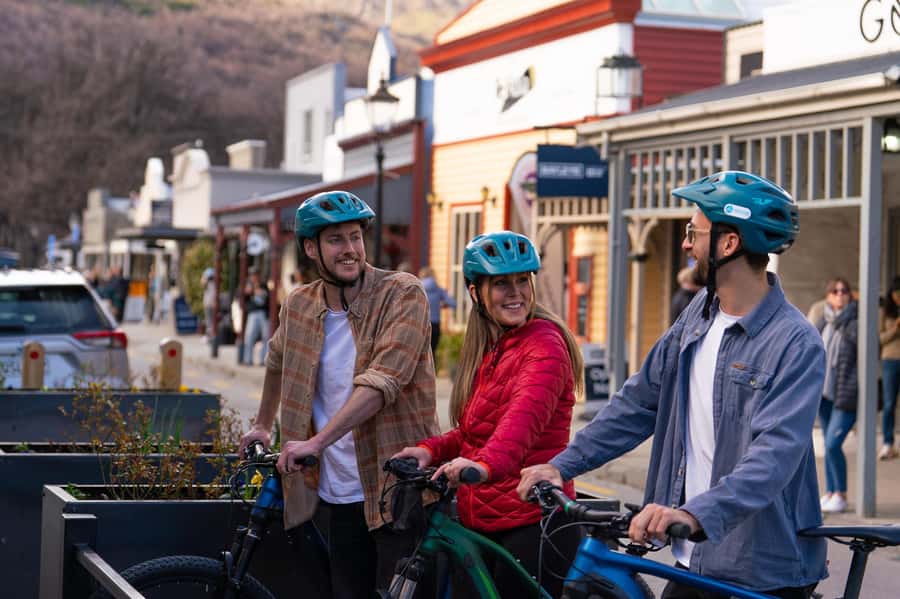
The total tour duration is listed as 5 hours. In practice, that time is a mix of shuttle transport, bike setup, riding, and breaks. On some days, the ride itself can feel a bit shorter than you first imagine because you’re spending part of the schedule getting to the trailhead and back.
It’s worth mentally budgeting for that. If your goal is maximum winery time and a calm pace, the shuttle won’t bother you much. If your goal is to “use every hour to ride,” you might feel the van segments more strongly.
Pickup timing is consistent for your whole option: 4:30 pm in summer and 4:00 pm in winter. So plan your last winery stop with that handoff in mind. One smart trick: choose a final winery you actually want to end on, not just the last one on the map.
Price and value: how $56 turns into a real day out
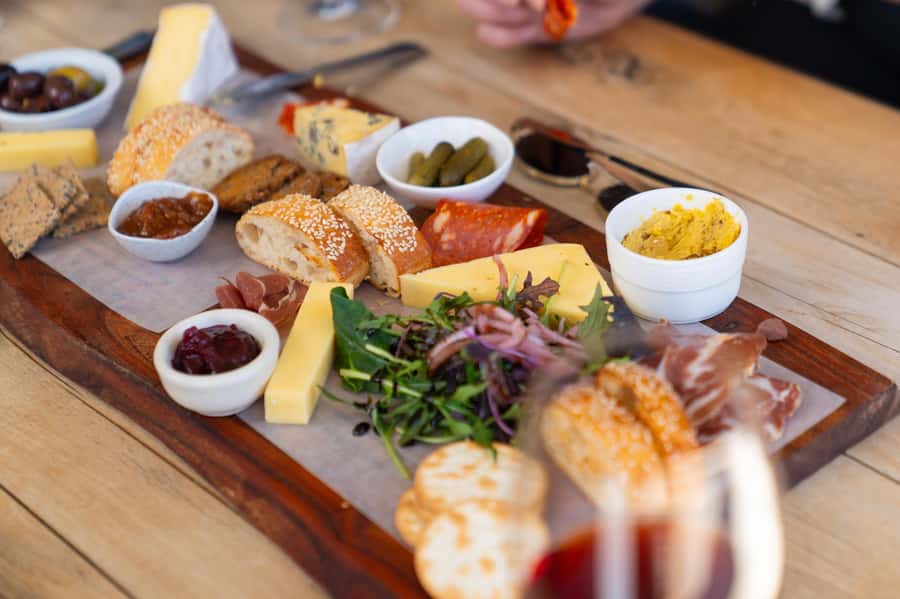
At $56 per person, you’re paying for a packaged day: bike or e-bike, helmet, briefing, trail map, and shuttle transportation. That’s good value compared to piecing it together with separate bike rentals and transport.
But you should also count what’s not included:
- Wine tastings are not included
- Food is not included
So the final cost depends on your choices once you’re riding. If you buy tastings at a few wineries and grab lunch, you’ll likely spend more than the base price. Still, you’re getting a guided-style logistical setup (shuttle + map + safety briefing) while keeping the freedom to choose stops.
One extra note on value: e-bikes are often worth the money for this specific route. If you’re on the fence, I’d treat the e-bike upgrade as paying for comfort and steadiness, not just speed. It can turn a stressful day into a fun one.
Practical tips to make this ride feel smooth
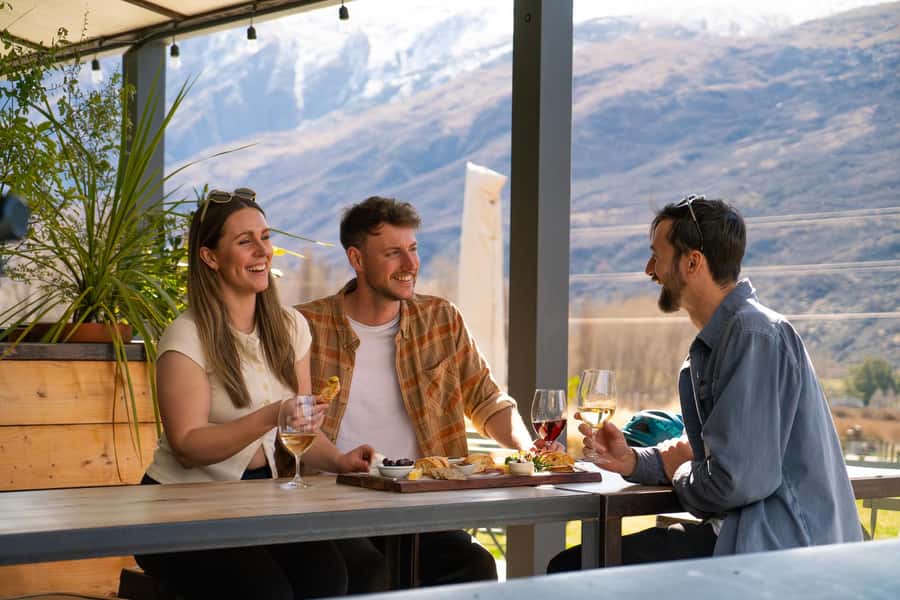
A few small choices can make a noticeable difference here.
Gear and comfort
Bring comfortable shoes and comfortable clothes. Even with pedal assist, you’ll be on a bike long enough that footwear matters.
If you plan to buy wine, think ahead. A couple of people have wished for an easy way to carry purchases. If you don’t want to hold bottles in your hands, plan a simple solution like a small bag or carrier that you can attach securely.
Navigation and signage
Most of the time, the route is easy to follow because it’s supported with a map and is set up for navigation. Still, signage and route cues aren’t always perfect in real life. If you prefer certainty, take a moment to pre-plan your top 2 or 3 wineries and keep your map handy.
Safety and trail feel
The trail can include gravel and narrower sections. Even when you’re riding an e-bike, stay smooth and don’t rush through turns near drop-offs. If you’re with kids or someone less confident, you’ll want to be honest about skill level. A standard mountain bike can feel harder to control in tricky gravel sections than an e-bike.
Should you book this self-guided Gibbston winery bike tour?
Book it if you want a low-stress day plan that still feels adventurous: shuttle you out, set you up with a bike, then let you choose wineries along a scenic river trail. The combination of self-guided freedom and built-in logistics is the main reason this works.
Skip or reconsider if:
- you can’t ride a bike confidently,
- you know you’ll be nervous on narrow gravel trail segments,
- or you want a very long ride time with minimal shuttle.
If you’re even slightly unsure about hills or energy, I’d lean toward the e-bike. On this route, that choice tends to turn the day from “workout” into “enjoyable touring,” while still keeping the scenery and wine stops the whole point.
FAQ
How long is the Queenstown to Gibbston Valley self-guided bike tour?
The tour duration is listed as 5 hours (450 minutes). Starting times vary by availability, so check the available departures for your date.
Where do I meet for the tour?
You should check in at Around The Basin’s shop at 3 Searle Lane, Queenstown. Arrive about 10 minutes before the scheduled shuttle departure.
What’s included in the price?
The tour includes a quality mountain bike or E-bike, helmet, a trail navigation and safety briefing, a winery map, and shuttle transportation.
Is wine tasting or food included?
No. Wine tastings and food are not included. You can choose what to buy at the venues along the route.
What time will the shuttle pick me up to return to Queenstown?
Pickup timing is the same for all options: 4:30 pm in summer (01 Sept to 30 Apr) and 4:00 pm in winter (01 May to 31 Aug).
How far do you ride to the first and last winery?
For the full-day option, the ride distance is about 15 km to the first winery and 25 km to the last winery. For both the 3/4-day and half-day options, it’s about 6 km to the first winery and 16 km to the last winery.
What should I bring and wear?
Bring comfortable shoes and comfortable clothes. The tour includes a helmet, but you should dress for active riding on a gravel trail.